 I love day hiking with radios.
When I pack all of my radio gear in a field kit that is compact enough to fit in a small day pack, it forces me to only take the essentials. This, in turn, makes for a quick deployment and pack-up.
I think this is one of the reasons I find Summits On The Air so appealing.
On Tuesday, May 18, 2021, I had a hankering to fit in a hike and, of course, play radio. I also wanted the option to fit in two activations, so needed a simple and short hike to minimize time.
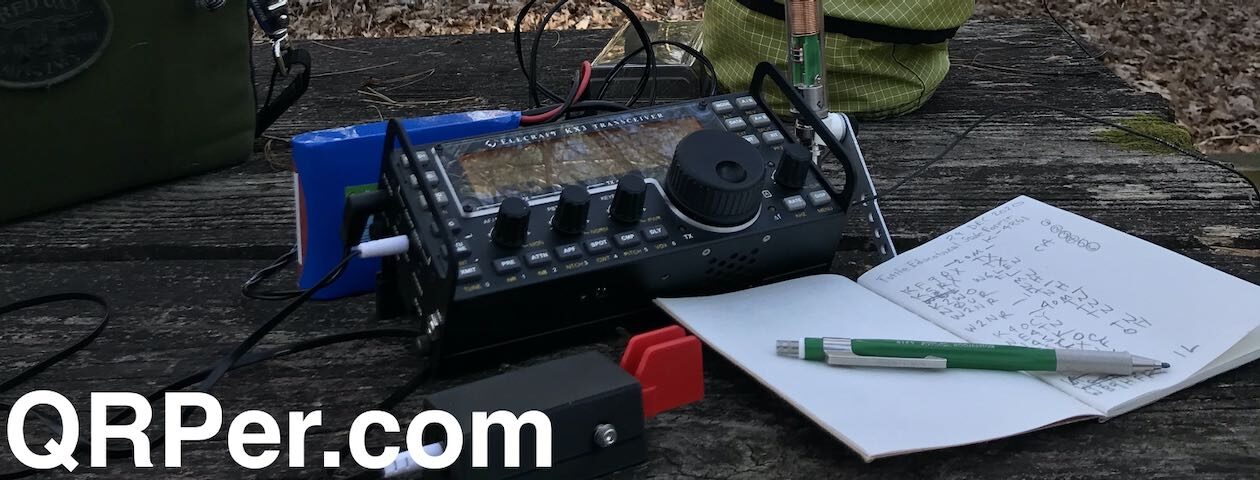
Tuttle Educational State Forest (K-4861)
 I decided to head to Tuttle Educational State Forest–one of my favorite accessible POTA sites–because their two mile loop trail was just what the doctor ordered. In fact, I knew exactly where I wanted to set up on the trail.

Tuttle is rarely busy–especially on a Tuesday afternoon.
I arrived on site and, as I was pulling my backpack out of the car, I was greeted by one of the Tuttle park rangers. He was incredibly nice and provided me with even more ideas of places to set up in the future along the trail and trail extensions. We must have chatted for 15-20 minutes–he had a number of questions about amateur radio and I never miss an opportunity to be an ambassador for both ham radio and POTA/WWFF.
Gear:
- Xiegu X5105
- Packtenna 9:1 UNUN Random Wire Antenna
- CW Morse “Pocket Paddle”
- GoRuck GR1 USA
- Hardened Power Systems QRP Ranger
- Weaver arborist throw line/weight and storage bag (affiliate links)
- Tom Bihn Large Travel Tray
- Rite In The Rain Weatherproof Cover/Pouch (affiliate link)
- Jovitec 2.0 mm Mechanical Pencil (affiliate link)
- Muji A6 Notepad (affiliate link)
On The Air
 The hike was amazing and, besides park rangers, I had the entire site to myself. About 1.5 miles into the hike, I found the spot I earmarked for this activation: a little open area with three wood benches on the side of the path.
This particular deployment reminded me how thankful I am that I discovered the Arborist Throw Line last year. I had the PackTenna deployed in three minutes.
It was so…effortless.

I decided to take the Xiegu X5105 out for another activation. Radioddity sent this to me on loan for a full evaluation and review. The previous day, I activated the Blue Ridge Parkway with the X5105. I wanted to see how many activations I could accomplish off of one charge of the X5105’s internal battery, so after the BRP activation, I didn’t re-charge the battery.

As insurance at Tuttle, I brought along my trusty QRP Ranger LiFePo4 battery pack and hooked it up to the X5105. If the X5105’s internal battery died on me, it would be easy to simply turn on the QRP Ranger’s power switch and hop right back on the air.
I started one of my real-time, real-life activation videos (see below), then called CQ on 40 meters.
Maybe that quick antenna deployment was foreshadowing the activation, because in the span of 13 minutes, I logged 11 stations all on 40 meters.
I was very pleased to work P2P (Park To Park) contacts my friends Steve (KC5F) and Scott (KN3A). Thanks, guys, for hunting me!
Here’s my log:
 I didn’t even move up to 30 or 20 meters after working the string of contacts on 40 meters because Tuttle is far from being a rare site and I wanted to fit in one more activation that afternoon.
The X5105’s internal battery easily powered the rig for the entire activation (perhaps a total time of 15 minutes). I suppose I’ll have to take it to yet another park on this same charge!

Packing up was nearly as quick as deployment. I owe thanks to one of my YouTube Channel subscribers for suggesting that I pack the Arborist Throw Line pouch by winding figure eight bundles of line on my hand (much like I do with antenna wire) and stuffing them in the pouch one bunch at a time. This saved me a lot of time.
While the portable throw line pouch isn’t as quick to pack as the throw line cube, this method made it a cinch! I can’t find who originally made the suggestion, but I’m grateful–thank you!
Video
Here’s a link to the full activation video:
Photos
During my loop hike, I snapped a few photos (click to enlarge):


 Well hello there, little fella’!


I’m most grateful to the late Ms. Tuttle for leaving this amazing park for all to enjoy. Her legacy protects this land for all future generations.

When you’re doing a park or summit activation, don’t forget to stop and take in a good dose of nature and the outdoors.
It does us all a world of good.
More X5105 thoughts
 This second activation had me warming up a bit more to the X5105. I do like its size, and I think it’s a good rig for CW ops.
CW operation is very pleasant, actually, and keying feels natural. I was impressed that the battery held for a second activation, even though this was a very short one.
Again, I think the internal speaker audio leaves a bit to be desired–I dislike the audio splatter I hear at higher volumes–but for $550? It’s really hard to be critical.
During this activation, I still hadn’t learned how to program CW memory keying. A YouTube subscriber recently described the process and it seems overly cumbersome and much more complicated than it was in an earlier firmware version. I’m going to contact Xiegu about this. Unless I’m missing something, it really holds the radio back from being pretty stellar on CW for the field op.
Readers, if you own the X5105 and can describe the best way to use CW memory keying, please comment with directions! I’d really appreciate it!
Thank you
Thank you once again for reading through this field report and perhaps watching the activation video.
I’d also like to thank the readers and subscribers who’ve recently supported me on Patreon and via PayPal. I am humbled and honored.
Thank you.
Do you enjoy QRPer?
Please consider supporting us via Patreon or our Coffee Fund!
Your support makes articles like this one possible. Thank you!


