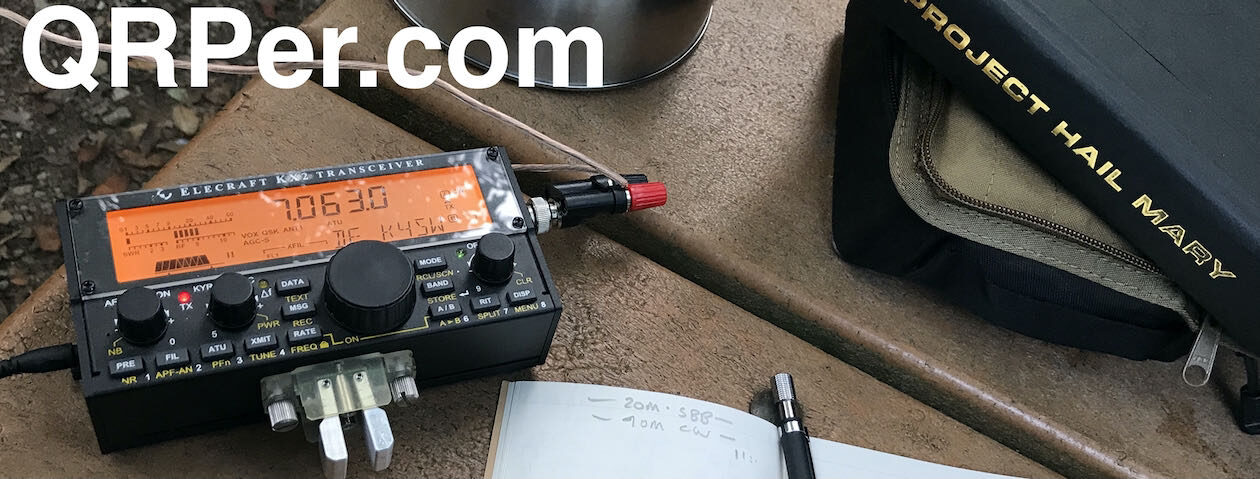
I’ve mentioned my good buddy Mike (KE8PTX) in previous posts—he’s designed some very cool 3D-printed accessories for portable operators.
Just a day before our family left on our multi-week trip to Québec, Mike sent me two brand-new mounts he designed for the Elecraft AX3 antenna: a strap mount (which I used in this activation) and a clamp mount, similar to the one he previously created for the AX1 (used here).

While the AX3 has built-in tripod legs that work quite well, having a mount that can handle gusty conditions is a big plus when you’re operating outdoors.
On Monday, June 23, 2025, I decided to take Mike’s new AX3 clamp mount to the field at my favorite local park.
Reserve Nationale de Faune du Cap‑Tourmente (CA-0012)
 According to historical records, explorer Samuel de Champlain first used the name “Cap Tourmente” in 1608 to describe how the Saint Lawrence River’s currents and winds caused the waters to churn or surge at that location—hence, the “Cape of turbulence.”
It’s rare that I visit Cap Tourmente and don’t encounter gusty winds, so I figured this would be the perfect spot to test Mike’s new clamp mount.
 I arrived shortly after noon and scoped out the area near the park’s interpretive center, searching for a picnic table to set up my station. There were plenty of options, but I was looking for something a little off the beaten path—away from foot traffic and, ideally, not too close to the interpretive center (to avoid QRM).

I found a table that checked most of the boxes: it was off-path, a good distance from the center, and near a utility shed used by park staff.
 That said, I immediately noticed overhead power lines in the area. After scouting around more, it became clear that all of the picnic tables were located near power lines, so I simply hoped they wouldn’t generate too much RF noise.
 To be clear: there were no safety concerns—the AX3 is only about four feet tall, and the power lines were well above that. I also wasn’t setting up directly underneath them. Still, it’s worth stating: power lines are a serious concern in the field, well beyond potential QRM. It’s critical to always look up, assess the area, and plan accordingly. Here’s a recent reminder of why that’s so important.
Setting Up
 Deploying the AX3 (like the AX2 or AX1) is super quick and easy—which is one of the reasons I love these antennas so much. Less setup time means more time on the air.
 The clamp mount simply screws into the bottom of the AX3. I connected the antenna to my Elecraft KX2 and plugged in my UMPP-1 key, mounted on a jeweler’s block. A tidy, portable, low-impact station!
Gear:
 Note: All Amazon, CW Morse, ABR, Chelegance, Spooltenna, eBay, and Radioddity links are affiliate links that support QRPer.com at no cost to you.
Radio
Key
- UMPP-1 Paddles by GM0EUL
- Senrog Bench Block base
- Key cable: Cable Matters 2-Pack Gold-Plated Retractable Aux Cable – 2.5 Feet
Antenna and Mount
- Elecraft AX3 package
- KE8PTX AX3 Clamp Mount (TBA via Tufteln)
Pack/Case
- GoRuck GR1 USA Travel Field Pack
- HEROCLIP Carabiner Clip (attached to my backpack)
- LowePro CS60 Hard Side Case
Logging Pad/Pencil
- Rite In The Rain Top Spiral Notebook (small 3×5 size)
- GraphGear 0.9mm 1000 Automatic Drafting Pencil
Camera/Audio Gear
- DJI OSMO 4 action camera with Joby Telepod Sport Tripod
- Sony ICD-FX312 Digital Recorder
On The Air
 I powered on the KX2 and scanned the 20-meter band. I didn’t hear any strong stations at first—a bad sign, possibly pointing to poor propagation.
I also noticed a noise floor around S4–S5, likely due to QRM from the interpretive center.
When QRM pushes the noise floor up a few S-units, it can mask weaker signals that would otherwise be workable.
Still, the only way to find out was to start calling CQ POTA! Continue reading Pushing Through QRM: Low-Profile, Low-Impact POTA with the Elecraft AX3 and New Clamp Mount


