
Over the past couple of years, I’d been casually watching the used market for a Kenwood TH-D72A handheld. Last summer, I started searching in earnest—I wanted one specifically for portable full-duplex satellite work.
For discontinued gear like this, instead of waiting for one to show up, I’ll often post a “WTB” (Want To Buy) ad on a classifieds site like QTH.com. In the past, I’ve had good luck with this approach.
This time around, I did eventually find a legitimate seller and now have a TH-D72 in my shack. But before that? I had to navigate several scam attempts—five of the six replies I received were from scammers.
And let me tell you: scammers are getting much more convincing.
Although this happened to me last year, in the past couple of months I’ve heard from several readers who’ve lost serious money through online classifieds—sometimes for high-end transceivers.
One story in particular prompted me to finally dust off this post from my drafts folder and finish it.
Please note: this isn’t a comprehensive guide. It’s simply a rundown of the real-world steps I take and the red flags I watch for. As scammers increasingly adopt powerful AI tools and become more sophisticated, I think it’s worth sharing how I approach online swap meets these days.
Rule #1: Assume Every Seller Is a Scammer Until Proven Otherwise
I walk into every transaction—whether I’m buying or selling—with a healthy dose of skepticism. That may sound cynical, but it’s saved me from a lot of headaches.
Scammers can pose as both buyers and sellers. They prey on your sense of trust, often impersonating legitimate hams. QTH.com knows this too; before posting an ad, you must confirm you’ve read their scam policy, which is packed with great advice.
Rule #2: Use QRZ.com to Vet Callsigns and Email
 QRZ.com is the de facto database for amateur radio contact info. You need a QRZ.com account to view someone’s email address. If a person’s callsign profile has no email address listed, that’s a red flag. Scammers often impersonate real hams who don’t list an email—making it nearly impossible to verify their identity directly.
When someone replies to your ad, see how they contacted you. If they use your email from QRZ but don’t also reach out via the classifieds site’s internal classifieds contact form/messaging system (QTH.com or QRZ.com), be cautious. I usually confirm a response by emailing the address listed on QRZ.com directly and saying, “Hey—just confirming this reply came from you.”
Rule #3: If the Price Feels Too Good, It Probably Is
In my case, TH-D72A prices range between $250–$375 depending on condition, included accessories, etc. Some appear for $400+, but those rarely move quickly. The first day I posted my WTB ad, I got three responses: two were priced well below market. All three were scams.
Scammers study the market carefully. They want to offer something just cheap enough to be irresistible—but not so low that you question it. The key is to know your gear’s current market value, both new and used. If it feels like a steal, slow down and verify everything.
Rule #4: Call the Seller (They’ll Usually Be Glad You Did)
 I make it a hard rule: I never send money to someone I haven’t spoken with on the phone. This may sound old school, but it works.
What’s more—I’ve never had a legitimate seller refuse a phone call. In fact, those calls usually help build rapport and trust. Most sellers are happy to chat about the gear, how long they’ve had it, what condition it’s in, and why they’re selling.
If someone avoids a phone call or keeps dodging it? That’s a major red flag in my book.
Rule #5: AI Has Made Scammers More Polished Than Ever
Scammers now use AI to clean up their writing, correct grammar, and even simulate a natural tone. The sloppy typos and awkward phrasing we once looked for? Those are becoming less common.
That’s not to say grammar is irrelevant—if a message sounds “off,” trust your instincts. But don’t rely on spelling alone to spot a scam. Assume a message might be AI-assisted and ask deeper questions instead.
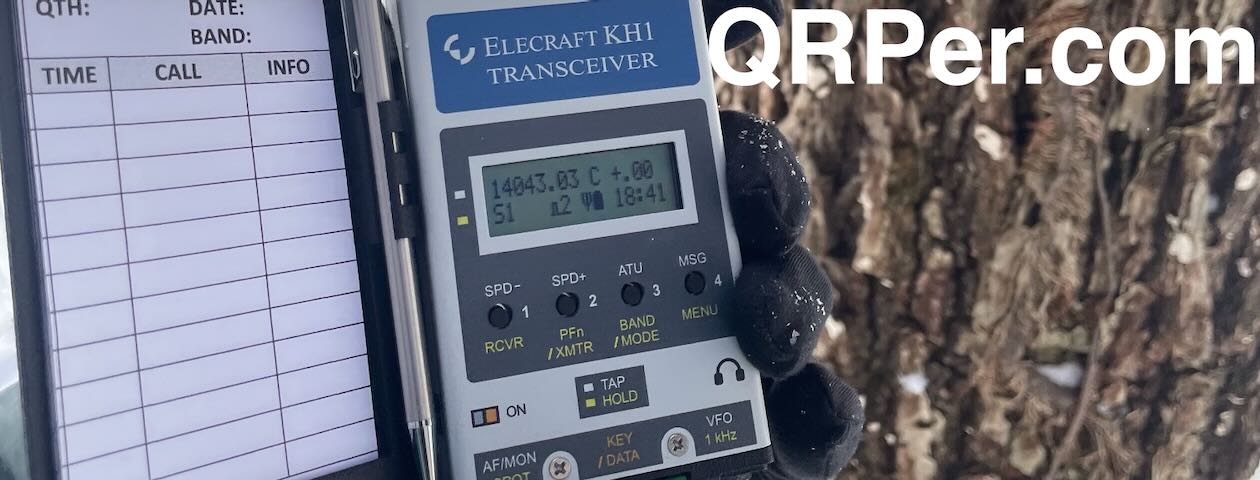
Rule #6: Ask for Fresh Photos with Handwritten Details
Scammers often reuse real images from previous listings or scrape them from the web. I’ve had five scam replies with convincing product photos and callsigns printed on paper. But every single one was fake–they used AI or a graphics tool to superimpose a callsign on a what looks like a white sheet of paper.
What I now ask for:
Two photos of the item, from two different angles, with a handwritten note that includes:
- The seller’s callsign
- Their first name
- The full date (month/day/year)
The note must be:
- Handwritten on plain paper (no digital overlays or re-used images, no QSL cards because they’re easier to cut and paste into an image)
- Placed next to the actual item, not just the box
- Clear and visible in the same photo as the item
This request (mostly based on QRZ.com swap meet posting requirements) helps filter out scammers. Why? Because scammers almost certainly don’t have the item in hand—and they definitely can’t easily produce two unique images of the same gear and note from two different angles. This is something easily done by someone taking a photo of the item in front of them (simply reposition your camera for two shots). It’s extremely difficult to do this convincingly with AI.
As of mid-2025, AI-generated images still struggle with replicating specific devices like radios from multiple angles.
Bonus Tip: Compare the photo you receive to manufacturer stock images. If the item looks slightly off in terms of proportions, buttons, or layout, it might be AI-generated.
Here an example of an AI-generated image I requested:

The AI image, at first blush, looks reasonably convincing, but the notepaper is standing up on edge, the handwriting is super neat, and the image has a surreal quality to it—not like a real photo.
Of course, comparing the AI image with the actual Kenwood stock image (see below–taken directly from the Kenwood website) reveals numerous product discrepancies in button layout, display, size, etc.

If a seller pushes back too hard on your photo request or seems annoyed? Consider that a warning sign. If they’re not comfortable with this low-effort verification step, they might not be great to deal with down the line either.
Payment: A Few Extra Best Practices I Follow
- Use PayPal “Goods & Services” — never “Friends & Family” unless it’s someone you know personally.
- Some sellers request Friends and Family (F&F) because they don’t wan to to pay the PayPal fee. If this is the case, I add 3% to cover the G&S fee if needed.
- Avoid Zelle, Venmo, or gift cards unless it’s a local, in-person exchange–say, at a hamfest or convention.
- Again, always talk on the phone before sending payment. It’s always a bonus verification if the sellers’ area code matches their QRZ physical location.
In Closing
 The online ham classifieds are a great way to find gear—especially discontinued or rare items that don’t often pop-up at local hamfests. But the environment is changing. Scammers are adapting fast, and AI is helping them sound more convincing than ever.
I still love buying and (on rare occasions) selling gear this way—but I walk in carefully. This post isn’t a masterclass in fraud prevention, just a collection of my habits, red flags, and lessons learned. I hope it helps someone else avoid falling for a scam.
If you’ve got tips of your own, feel free to share them with us in the comments section. Let’s keep the community strong and informed.
Stay smart and safe out there—good hunting!
—Thomas (K4SWL)


