
How I worked the #19 most wanted CW DXCC as a pedestrian mobile station
by Leo (DL2COM)
A couple of months ago, I started using the app HamAlert to keep track of interesting DXpeditions and rare call signs just to check if I would be able to copy their signal on my home-made WebSDR at a location outside of the city. This helped me a great deal in understanding propagation and pile-up dynamics as I began to develop a strong interest for expedition-like operating from exotic regions.
.jpg)
One of the stations I had tracked for a while is Monk Iakovos Kutlumusian SV2RSG/A – the only licensed operator in Mount Athos which is currently #19 most wanted CW DXCC according to Clublog. Mount Athos is an autonomous orthodox monk republic under Greek sovereignty and located on a peninsula in the North-East of Greece (locator KN20CG). More info on Mount Athos can be found here (Wikipedia) and a trailer for an upcoming documentary here (Youtube).

The priorities of the community in Mount Athos understandably lie on their theological work. So I think it is a big commitment that Monk Iakovos (QTH: Koutloumousiou Monastery one of 20 monasteries in Mount Athos) is able to make some contacts in his free time outside his monastic duties as he writes on his QRZ page.
Very experienced DXers from Berlin once told me how they worked Mount Athos many moons ago on 80m in the middle of the night only by chance and that it is almost impossible to log this super rare DXCC.

I had noticed that during May and June 2024 Monk Iakovos was on the air more frequently but each time only working 4-5 stations in a couple of minutes before disappearing again for days. The only two consistencies I found was that he was active on 20m CW and most of the time during local evening hours.

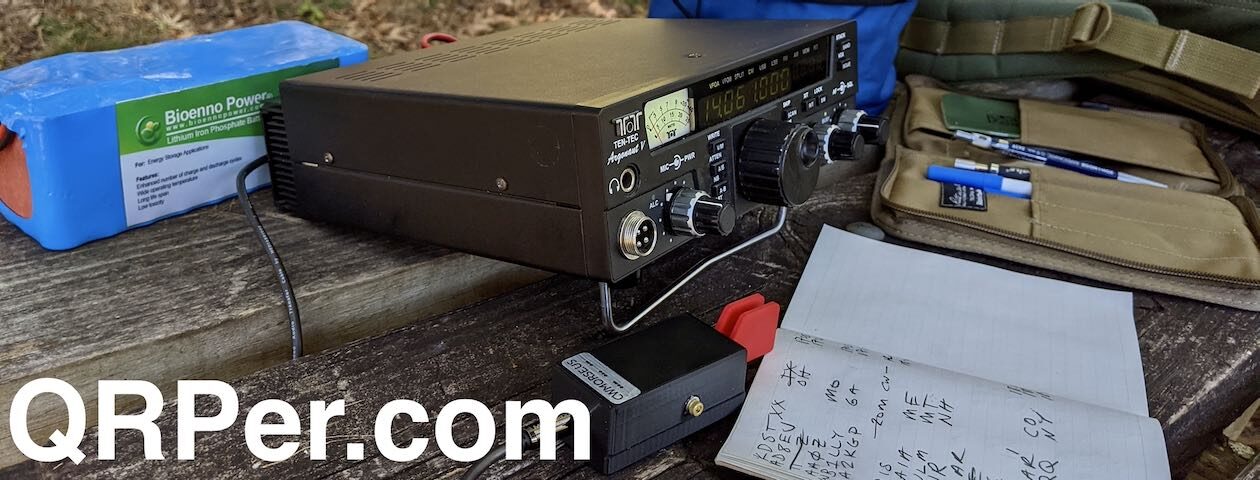
I took the photo above a couple of days before to inform a friend that SV2RSG/A was active again (btw the HamAlert notification feature on my watch comes in very handy).
Then on Sunday, June 16th 2024, I was sitting on the couch reading when my watch vibrated and showed his call sign again on RBN at about 20:56 UTC (22:56 local time, 23:56 DX time).
I was in absolutely no position to make a QSO as I live in a very urban neighborhood in central Berlin City and I cannot have antennas at my QTH. Also the location brings along a high degree of man-made QRM and all the tall townhouses act as blockers for any kind of RF. Far from ideal for HF operation which is the reason 100% of me operating is portable or from the car.
In addition, we had just returned from a weekend trip to the countryside and I was enjoying the fact that our kids were sound asleep. So I only took out my phone and checked if I could hear this station again online.
To my surprise, this time it wasn’t the immediate and very intense “red ocean” simplex pile-up that I had witnessed multiple times during the weeks before. Maybe it was due to the fact that a big DX contest was coming to an end or most tired OPs were just off the air already on a late Sunday evening. Who knows? Or maybe it was just plain luck…..
Should I? Or should I not? I knew that I needed to be outside if I wanted to have the slightest chance to work this station. There is also a tiny park about 200 meters from our house which would improve my situation a little due to better “sky access” and takeoff angels towards Greece. But I thought by the time I could be set up the pile-up would already be too big for my QRP signal or the station would already be gone as it was the case each time before.
Still I ran over to our utility room, ripped open my backpack and got the KX-2 pouch out. I took the transceiver, slapped the AX-1 whip on, grabbed a key and dumped the counterpoise wire in my pocket.

Have you ever wanted to take out the trash and then ran into a “shoe situation” at the front door with your hands full?
With my wife’s sneakers slipped half on I staggered out on the street all while trying to secure the end of the counterpoise to one of the bottom screws on the KX-2’s case and nearly falling down the stairs. Time-to-QRV (TTQ is that an official metric? if not it should be imho) maybe 80-100 seconds….no kidding.
Outside I dialed in 14.004 and immediately heard SV2RSG/A still calling CQ at a relaxed pace and then working a station. The signal in my “street canyon” was weak but a 100% copy.

I quickly send my call sign only to get a “QRZ?” back. OMG did he really just hear my signal? Apparently my field strength was too weak on his end because he started calling CQ again.
So I sprinted towards the park (dragging along the counterpoise behind me) and I noticed that his signal was coming on stronger and stronger. After about 100 meters I stopped and again called “DL2COM”. This time I heard “DL2?” but then a very loud OP blasting his signal right on top of me.
I repeated my call another two times and couldn’t believe my ears when SV2RSG/A came back with my true full call and a 599 report. With shaking hands I somehow managed to reply R 599 TU and then we exchanged 73s. I simply couldn’t believe what had just happened.
When I walked back to the front door one of my neighbors was standing there looking somewhat irritated. He paused his phone call for a second and asked “ARE WE SAFE?”.
“Oh yes! For now, very safe!” I told him that I had just communicated with a monk in Greece in morse code (“you know the stuff they used on ships back in the day”) and that this story probably needed more context over a beer.
I then noticed that I had pulled the counterpoise wire through a pile of dog droppings with everything happening so quickly. Of course I did! How can this not happen on the streets of Berlin. A sacrifice I was happy to make for this very special contact and btw cleaned easily in under 2 minutes.

Gear used:
- Elecraft KX2 incl. internal ATU, battery & charging module
- Elecraft AX1 antenna incl. 13’ counterpoise wire
- Palm Radio Mini Paddle (special green edition)
- Garmin Instinct 2 Tactical
- Soap

How did this work? Being on the air so quickly and the fact that 20m was on fire that night certainly helped. But then again is it also the idea to just dare and get out there operating. If you don’t cast a line there won’t be any fish…right?
You never know which exciting DX station might be just around the corner during a special band opening.
While Greece isn’t particularly hard to reach from Germany it was more the overall circumstances (very rare, short and erratic operating times of this station, usage of callsign by pirates, urban QTH, compromised antenna, simplex pile-up with QRP signal) that made this contact highly unlikely but as I now know also totally possible. Blessings to Mt. Athos and their ongoing work for the DX-community! I am very grateful that I got the chance to log them.
– vy 73 de Leo DL2COM
p.s. as of the day of publishing this article, Monk Iakovos has not been active since I worked him on June 16th (according to RBN).


