 I received an email from a reader’s spouse asking about gift ideas for the holidays and beyond; ideas that could not only be used this month, but also tucked away for the future. They weren’t looking for the obvious things like a transceiver–they were looking for accessories that might enhance their significant others’ field radio fun.
Being the enabler I am, I was happy to oblige and, in fact, decided to turn my reply into a post (since it quickly turned into a very long email) with their permission. For obvious reasons, I’m keeping their ID secret! 🙂
Here’s a rather random sampling of things that came to mind. I tried to limit this to items that retail for less than $100 US. Note that some of these product links are affiliate links:
A quality LiFePO4 battery
 Being a QRPer, I don’t need a large battery to enjoy hours of radio fun per charge. My favorite battery chemistry is LiFePO4 due to its weight, safety, shelf life, and recharge cycles (which is in the thousands as opposed to hundreds).
For me, a 3Ah battery is more than enough capacity to keep my QRP radios on the air for 3-5 activations per charge (depending on length of activation, etc.).
I’m a big fan of Bioenno batteries. Their customer support is excellent. You can purchase their 3Ah 12V battery for $64.99 US including the charger. If you already have a charger, the battery alone is $49.99. Click here to check it out.
If your significant other likes to push 100 watts, consider a larger capacity battery. I also have a 15Ah Bioenno battery for this purpose, though it exceeds the $100 gift price threshold). Click here to check it out.
A very affordable Li-Ion rechargeable battery

One of the most affordable rechargeable battery packs for the QRPer in your life is the TalentCell Rechargeable 12V 3000mAh Battery Pack. This pack typically costs around $30 US and is sometimes even less expensive.
This little pack is great because it will not only output 5V to recharge USB devices, but it also outputs 12 volts which is brilliant for QRP radios like the Elecraft KX series, TX-500, FT-817/818, Mountain Toppers, Penntek TR-35, Venus SW-3B, and many others. I actually now pair this with my QCX-Mini. The battery comes with the charger and standard barrel connectors on the included DC cord which fits Elecraft and Penntek field radios among others.
This is a small battery, so can only be paired with efficient QRP radios.
While I don’t consider this a high-quality solution like a Bioenno battery, it is insanely useful and affordable. Click here to check it out.
Morse Code Keys!
 I could easily write a series of articles about Morse Code keys. That’s not what you’re looking for, though, right? You want some quick suggestions. Here is a sampling of some of my sub $100 favorites listed in alphabetical order.
- CW Morse N0SA SP4 Precision paddles ($82.95 or $109.95 with steel base): These are the latest paddles from CW Morse. I love them. Click here to read my short review.
- CW Morse “Pocket Paddle” ($44.95): This must be one of the most popular set of portable paddles on the market. They’re affordable and very well-built! There are several versions and colors available.
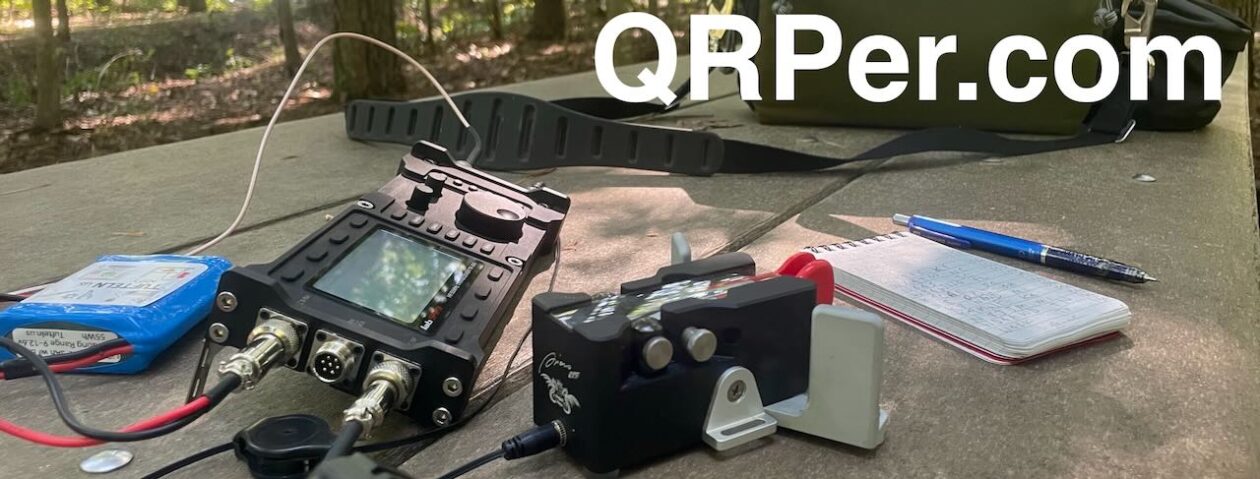
- CW Morse Outdoor Double Paddle With Steel Base ($74.95): I’ve been using these a alot lately when operating on a picnic table. The heavy steel base allows for one-handed operation.
- N6ARA TinyPaddles ($24.95): I believe every CW field operator should carry a set of N6ARA’s TinyPaddles. They were originally designed to be backup paddles, but I know many ops that use them as their primary set in the field!
If your budget is flexible, you might also consider these paddles which are still less than $200:
- CW Morse CNC Machined Aluminum Paddle ($129.95): These are very high quality, durable CNC machined aluminum paddles. Last week, I dropped them on a concrete floor from about 5 feet and they survived without even a scratch.
- BaMaKeY TP-III Ultra-Compact Paddles (155 EUR): This is a high-quality, lightweight portable key that I also recently purchased. I’ve a number of friends that love their TP-III paddles!
Okay, so if you don’t mind pushing more than $200, I highly recommend any key made by the amazing Begali family. Their Simplex paddle was my first set of paddles and I still use them today. I plan to buy their Traveler next year. They’ve a massive selection of models and styles. Continue reading A Few Field Radio Gift Ideas for Less Than $100!


