 Some of my most enjoyable field activations are those involving the least amount of equipment and accessories. Maybe it’s my “less is more” mentality, but it is amazing when all I need to get on the air is one radio, a feedline, logging notebook, and a simple antenna.
That was my set-up earlier this week (February 8, 2021) when I activated Kerr Scott State Game Land–a site I hadn’t visited since last summer.
Kerr Scott State Game Land (K-6918)
I was the first person to activate Kerr Scott State Game Land back in June of 2020.
I vividly remember that activation because, as I noted in my field report on the SWLing Post, it was Kerr Scott that taught me an invaluable lesson:
“[I]f you don’t have a “spot” of your activation on the POTA site, it’s like you don’t exist.”
This was truly a tipping point that lead me down the path of doing CW activations in order to benefit from auto-spotting via the Reverse Beacon Network (RBN). Only a couple weeks after this activation, I made my first CW activation and the rest is history. While I still use SSB during activations, CW has become my favorite mode even though I’m still not that great of an operator.
I speak about this a bit more in my activation video below.
Gear:
- Elecraft KX2 (and KXPD2 paddles)
- Par EndFedz EFT Trail-Friendly 40/20/10 meter antenna
- Arborist throw line
 Once I arrived on site, I deployed my EFT Trail-Friendly 40/20/10 meter end-fed resonant antenna.
The last few times I deployed this antenna in the field, it hasn’t been resonant on 40 meters and I suspect this is due to damage to the coil near the end of the radiator. I decided I’d give it one last test by suspending it in an overhanging tree branch about 50 feet high so it would not touch other branches.
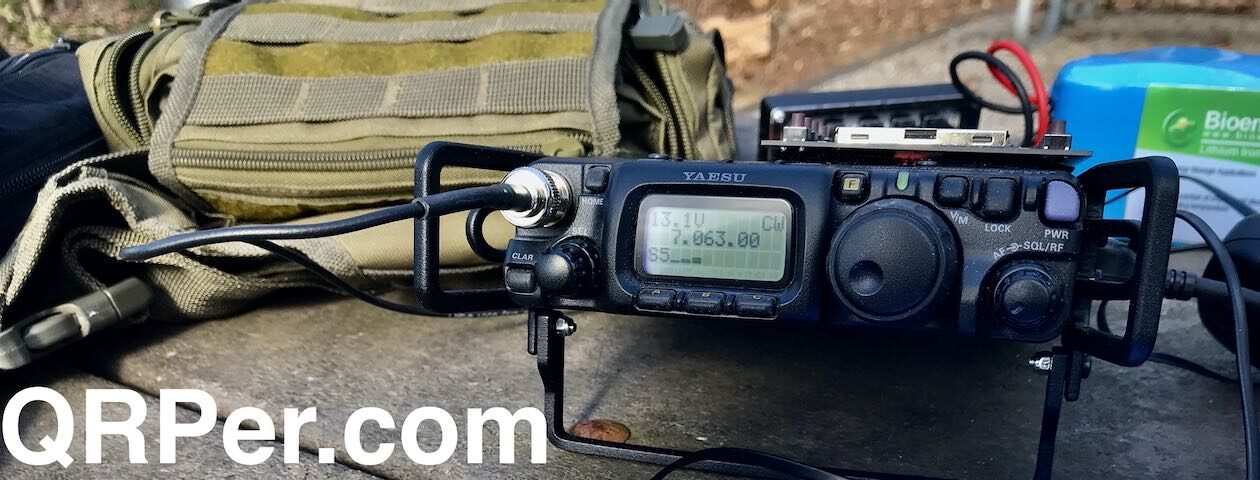
When I turned on the KX2, I set the internal ATU to “bypass” and tested SWR. Sadly, it was unacceptable, so I re-activated the ATU to get a good match.
My buddy and fellow POTA activator, Steve (KC5F), reminded me recently that the radiator on this antenna can be replaced with enough wire to make a simple end fed half wave. That’s probably what I’ll do because, frankly, this antenna has served me so well for five years and over 150 park activations I’m not ready to simply toss it. I will need to order some proper wire for the EFHW, though!
On The Air
 Since I have no mobile phone/Internet service at this site, I decided to make this a CW only activation, hopefully taking full advantage of auto-spotting to the POTA spots page.
I started on 40 meters because I had pre-arranged with my buddies Mike (K8RAT) and Eric (WD8RIF) to listen for me on 7063 kHz. I did this in case auto-spotting wasn’t working, which does happen from time-to-time. It’s always important to have a back-up if possible especially for sites (like this one) that carry significant travel time.
I hopped on 40 meters, called CQ POTA and within 29 minutes, I logged 26 stations. That’s about as much activity as I could possibly expect during a Monday morning activation!
Next, I moved to 20 meters and started calling CQ. The first station I worked was CU3BL in the Azores, then WD5GRW in Texas, AB6QM in California, then IK4IDF in Italy, and finally KH2TJ in California.
I then moved to 30 meters and worked N5GW in Mississippi before going QRT with a total of 32 stations logged.
Not at all bad using 5-10 watts!
Here’s a QSOmap of this activation (click to enlarge):

Activation Video
I made a real-time, real-life, no edit, no advertisements video of this activation. Feel free to check it out if you like:
Click here to view on YouTube.
One of the things I rarely mention in my videos and field reports is how much I love the trips to/from an activation site. I’m a traveler at heart and while I’ve been fortunate enough to travel to and live in some pretty amazing countries and cities, I still have a deep appreciation for simply driving through the countryside and taking in the scenery. I appreciate the mundane as much as I do the majestic. It’s a beautiful drive.
Kerr Scott Game Land is located in the little farming community of Boomer, NC which, I understand, was named after its first postmaster, Ed “Boomer” Matheson.

Before it was called Boomer, the community was known as Warrior Creek–the very creek running through Kerr Scott Game Land.
Even though I know there’s no connection, when I hear the name Boomer I can’t help but think of the incredibly cute and cheeky red squirrel that we WNC natives call “Boomers.”