 I believe I mentioned in the past that when I first purchased my Elecraft AX1, I assumed it would be a bit if a toy or novelty item. I thought it was a fun concept–and that’s why I bought it–but I remember the first time I took it out to the field on an activation, I thought I’d be demonstrating that a compromised antenna delivers compromised performance.
In short? I was wrong.
The AX1 has instead become one of the most valuable tools in my antenna arsenal.
When you are the DX–activating a park or summit–the AX1 is more than capable as long as you live in an area with a reasonable amount of hunters/chasers within your normal propagation footprint.
Speed
 The AX1’s secret power, as I mention in the title, is speed of deployment.
Although I can launch a line into a tree and deploy an end-fed half-wave pretty quickly–I’ve literally done this hundreds of times–I can deploy the AX1 even more quickly without breaking a sweat.
Case in Point: Zebulon B. Vance Birthplace (K-6856)
 On Tuesday, January 17, 2023, I had a day full of errands and projects in town, but needed to pick up my daughters at a school function around 15:00 local. There were too many variables to accurately predict where I would be at what time, so I didn’t schedule an activation that morning.
As the day progressed, though, I realized I had a very short window and K-6856 was practically en route to the pickup point. After I finished my last errand in south Asheville, I made my way north and based on Google Maps, I had no more than a 25 minute window to fit in a full activation from deployment to pack up.
I stopped in a parking lot en route, pulled out my iPhone, and scheduled an activation at K-6856 on POTA.app.
Keep in mind that my activations are typically short, but 25 minutes for set-up, on-the-air time, and pack-up leaves very little margin for error.
The AX1 is perfect for this type of activation.
A little time math
 It takes me two easy minutes to set up the AX1 and maybe one minute to pack it up. If I wanted to, I could speed that up a bit (I take much longer on camera talking my way through the process). So that’s roughly three minutes to both deploy and pack-up the AX1.
My speaker wire antenna, on the other hand, is also very quick to deploy. With my arborist throw line, I can easily prepare that antenna in four minutes and pack it up in three minutes. Thus, I need to allow roughly 7 minutes to both deploy and pack-up the speaker wire antenna (we have to assume it might take 2 launches of the throw line to snag a branch).

Since it has a built-in ATU and battery the Elecraft KX2 takes maybe 20 seconds to set up. Seriously: pull it out of the pack, connect a key, turn it on. Continue reading POTA Field Report: The Elecraft AX1’s secret power? Speed of deployment. →
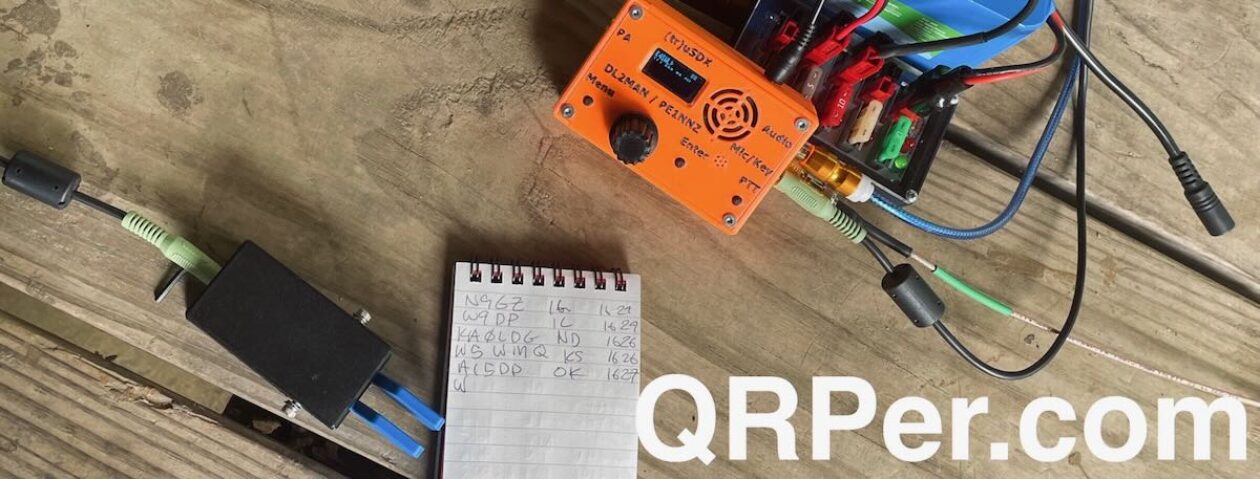
 Many thanks to Marshall (W4MKH) who writes:


