
If you listened to the latest Ham Radio Workbench Podcast episode–our Field Day Debrief–you will have heard that my Field Day was a pretty low-key event.
Originally, I had hoped to fly out to Oregon and hang with my friend George (KJ6VU) and his radio club, but there were just too many family activities happening this year for me to travel for a week.
Instead, my wife, daughters, and I met up with my buddy Vlado (N3CZ) and his sister, who was visiting from North Macedonia.
We met at the Zebulon Vance Birthplace (US-6856) and, luckily, had the picnic shelter to ourselves. The weather was gorgeous, and we put together a proper potluck picnic.
Field Day POTA
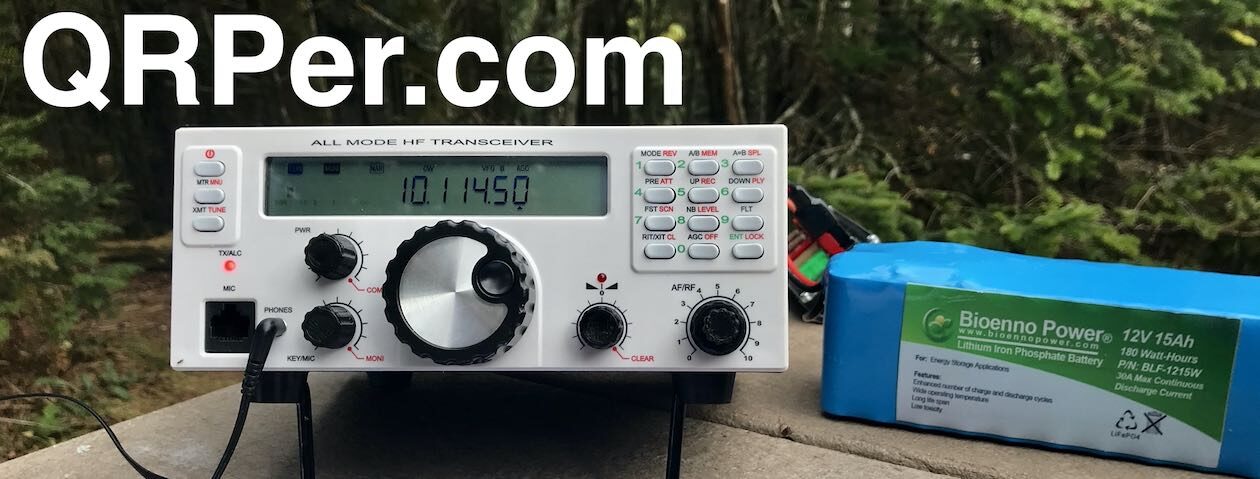
Vlado and I decided to do some casual Field Day operating, and I brought the radio gear.
Since I’m currently testing the Xiegu X6200, I brought it along to see how it might handle the RF-dense environment of Field Day.

We made a few contacts with the X6200, but the audio and receiver struggled in that RF-congested environment. This isn’t a surprise, in truth. Most portable field radios aren’t designed to have contest-grade performance—they’re designed for portability and functionality in normal field conditions.
The other radio I brought along was the Penntek TR-45L. I can’t remember if I’ve used it during Field Day in the past, but all Vlado and I could say was…
Wow!

The TR-45L sounded phenomenal!
I’ve always believed that the TR-45L (both the original and skinny version) has some of the best audio in the world of field radio. That is a major plus when it comes to Field Day.
The thing is, it also has a stable front end—the TR-45L receiver handled those packed RF conditions with ease. In fact, we were both amazed at how easily we could hear all of those competing signals. There was absolutely no listening fatigue at all, and both of us could hear weak and strong signals all occupying the same space..

It sounded distinctly analog and “pure.”
Vlado and I both tend to operate with filters wide open—using the filter between our ears—so the audio produced had excellent fidelity.

A couple of times, we did narrow the TR-45L’s audio filter when there was a strong competing station, but by and large, the audio was so clear, we really didn’t need to.
Top-Shelf
The takeaway for me is that the TR-45L series radios have proper contest-grade performance even if they lack contest-grade filtering.
I shouldn’t be surprised because even its predecessor, the TR-35, can handle crowded conditions with ease.

I should add here that the supply of new Penntek radios may already be dried up. As I mentioned in a previous announcement, John (WA3RNC), is retiring and selling off all of his existing radio inventory.
According to his website, he might still have some TR-45L Skinny models, but that’s it. In fact, that notice was dated May 28, 2024, so I’m not sure if it’s still correct.

I love the Skinny as much as the original TR-45L—they sport the same receiver and audio; the Skinny simply lacks the ability to add an internal battery and Z-Match ATU. What you get, though, is a radio that’s even more portable and provides an excellent operating angle with the bail folded out.
Have you ever operated a Penntek radio during a contest or Field Day? What are your other favorite field radios for this type of environment? Please comment!


 These “No-Transformer” random wire antennas are designed to be paired with a good ATU–either external or internal. This type of antenna couldn’t be more simple.


