 If you’ve been following my field reports and activation videos, you’ll note that I’m almost two months behind posting them at present.
Much of this is due to the fact that I made numerous activations during a camping trip at New River State Park with my family in April and many more activations during a camping trip with WD8RIF and KD8KNC in West Virginia in May.

May was an extremely busy month for me family-wise and I was fitting in Canadian Basic Exam prep during any free time I had because my goal was to write the Canadian Basic exam within the first few days of arriving in Canada.
(Read this previous post for more detail.)
Looking at my field report back log, I’ve got a few more reports from both the NC and WV camping trips, but I’ve decided to put them on hold for a bit so that I can post more recent ones. Plus, it might be fun posting late spring field reports this fall!
One of the things I love about writing these field reports is re-living the activation.
Objectif Québec

We began our road trip to Canada on the morning of June 15, 2022.
Our first stop would be Pine Grove, Pennsylvania, the second stop Ottawa, Ontario (for three nights), and then our final destination of St-Ferréol-les-Neiges, Québec. All in all, we’d log 1,306 miles/2,102 km not including side trips.
Although I sort of fantasize about all of the amazing parks I could activate during our travels north, in reality this road trip was all about reaching the destination in fairly short order to save on hotel expenses en route.
The first leg of the trip equated to a good 10 hours on the road including stops to refuel, stretch our legs, and grab a bite to eat.
That first day, I’d completely written off the idea of performing a POTA activation assuming we’d arrive in Pine Grove, PA too late and too tired.
Turns out, though, we got an earlier start than we had anticipated, so arrived in Pine Grove around 16:00 local. That afternoon, everyone was eager to take a stroll or hike to shake off all of those hours of sitting in the car.
I checked my POTA Map and then cross-referenced it with my All Trails app to find the closest park with proper hiking trails. Turns out Swatara State Park met both criteria and was a mere 8 minutes from our hotel. Woo hoo!
 Honestly: Swatara couldn’t have been more convenient for us.
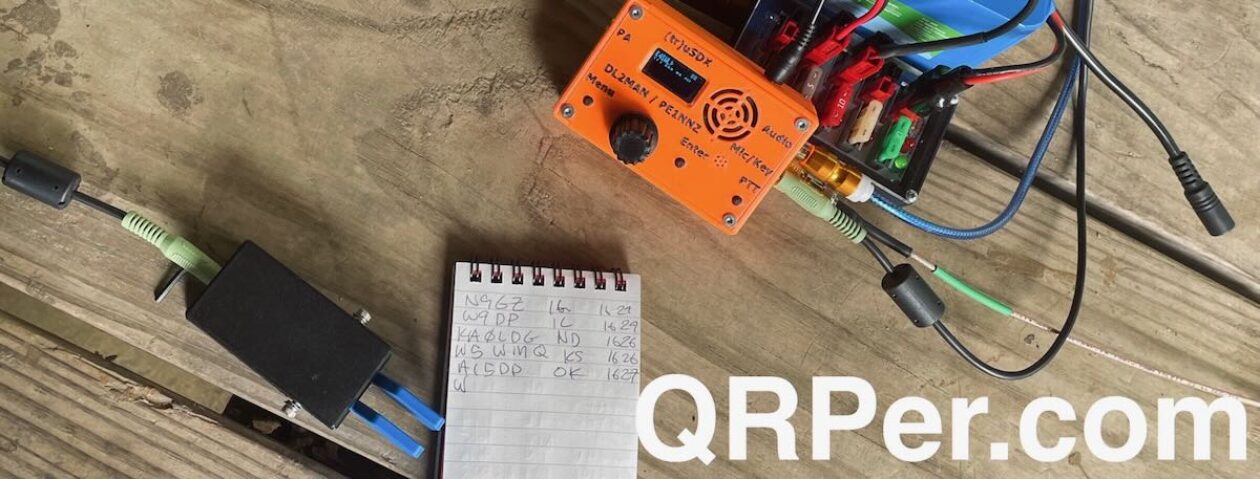
Swatara State Park (K-1426)
 Swatara had multiple access points along the highway, so we simply picked one and drove to the end to find a trailhead and picnic table under the trees. It was ideal. Continue reading En Route to Canada: An impromptu POTA activation at Swatara State Park


