
by Vince (VE6LK)
Firstly, a huge shout-out and thank you to Thomas K4SWL for letting me hang out here on QRPer.com and exercise my creative writing chops, and to the community at QRPer.com for giving me such excellent feedback in my original article – both of which propelled me into this fun project.

On January 20th 2024, I posted a simple question to readers of QRPer.com, If you could tell new CW learners your single best tip to learn CW, what would it be?
I was overwhelmed with the response in the comments and realized I had struck a nerve. At least one person told me that I should have bought a lotto ticket with that sort of luck, but I’ll tell you all that I am richer with the knowledge I’ve gained and shared with others as a result of the interviews I conducted with the who’s who of the English-speaking CW world.

It’s with a mixed heart that I’m here to announce that project has drawn to a close. It’s been tremendously helpful to so many people. Here’s the final episode and my personal tip to all of you aspiring CW learners.
I’m blessed to have met so many interesting people along the way and forged new friendships as a result.
Additionally, extra special thanks to Tim N7KOM, Alan W2AEW and Adam K6ARK who, along with Thomas, were my first victims interviewees where I was able to refine my interviewing and video editing process. And, Adam gave me a great idea – refine the videos into YouTube Shorts format. These refined Shorts are called 1CWQ and are the essence of each tip I recorded. The credit for the Shorts really belongs with Adam.

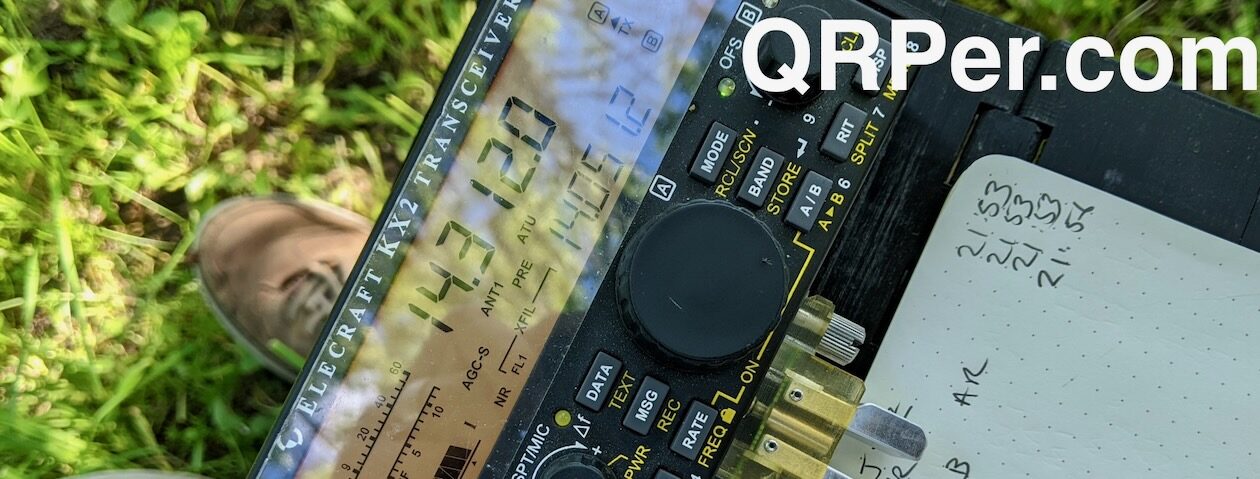
I interviewed 53 people for the series and produced well over 100 videos as a result as some gave us (you and I) more than one tip. If you missed the series, it’s not a ton of hours to binge watch. The original recordings are 2-3 minutes each and the shorts are all under one minute, or else YouTube won’t let me call them a short. You can find the Original playlist here and the Shorts playlist here.
I hope you enjoy these CW tips at least half as much as I did in recording and editing them.
One final tip, direct from my friend W5WTH who offers the following excellent advice in words better than I could ever say:
“Don’t let perfect be the enemy of good. Most CW ops are patient and can recognize a new op right away. They will most likely be happy to work you at a slow speed because they recall their personal CW journey. SKCC and POTA are the two easiest, stress free ways to make a CW QSO. Once you get the numbers and letters learned then start trying to get on the air. Don’t worry if you screw up because we all screw up and try to get better…”
I’ll add here that CW means never having to say SRI (CW shorthand for sorry) <GRIN>. Also Pat W5WTH has an excellent website too!

Lastly, this is the story behind the straight key featured in all of the videos and in the main photo for this article. The key was hand crafted by my friend VE6AB, Jerry Clement, now a silent key. Jerry was a creator, maker, master machinist, backcountry hiker and camper, and photographer – a real true Renaissance Man in every sense of the word. His photography graced the covers of QST Magazine often in recent years.
At a time when CW was required for HF privileges in Canada, Jerry did his CW exam with this key and he told me once it was a real attention-getter at that testing session! Upon his passing it was bequeathed to me with instructions for me to use it and to keep my [at-that-time struggling] CW skills up. The only parts he did not manufacture were the ball bearings and the rubber feet – all of the other parts were crafted in his hands. I shall always treasure this beautiful key.
Thank you, Jerry, for encouraging me from the great beyond. DididiDahDiDah
73 and dit dit,
…Vince
First introduced to the magic of radio by a family member in 1969, Vince has been active in the hobby since 2002. He is an Accredited examiner in Canada and the USA, operates on almost all of the modes, and is continually working on making his CW proficiency suck less. He participates in public service events around Western Canada and is active on the air while glamping, mobile, at home or doing a POTA activation. You can hear him on the Ham Radio Workbench podcast, follow him on Twitter/X @VE6LK and Mastodon @[email protected], check out his YouTube channel, and view the projects and articles on his website.


 (Source: W1SFR)