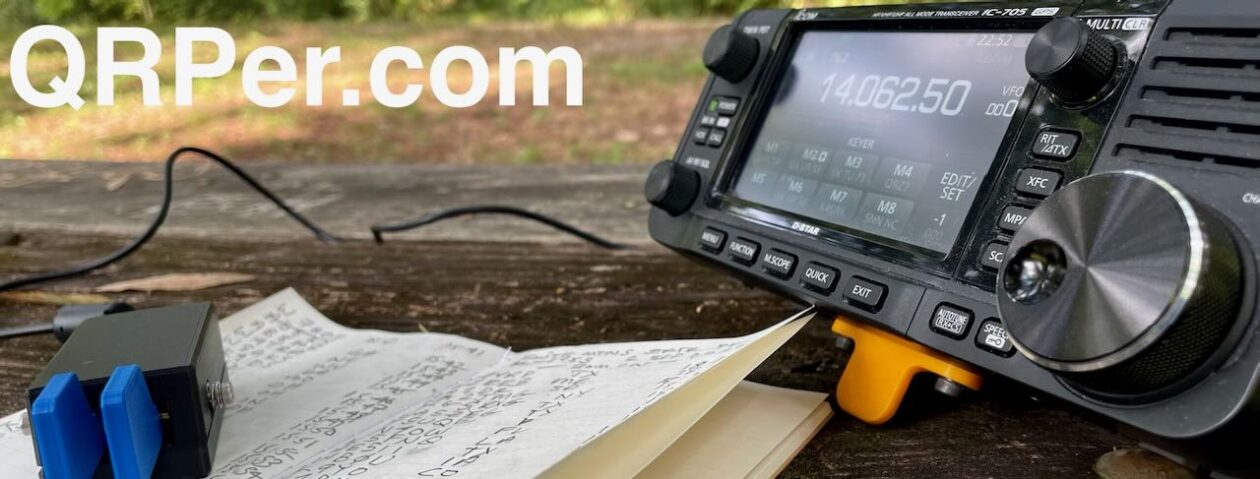
 Many thanks to Scott (KK4Z) who shares the following post from his blog KK4Z.com:
ZN-Lite II Update
by Scott (KK4Z)
I’ve had these paddles for about a year now but I haven’t used them much. Here is a link to my original review: https://kk4z.com/2021/11/24/n3zn-zn-lite-ii/. The reason is rather complex. they are small but because of their design, they can’t be held in the hand like some other paddles. If you put them on a table with the included Lexan base, they are so light, you have to use both hands to operate them. To me, it was a conundrum. These are very well-built, precision paddles and as smooth as any well-made paddle out there. My original thought was to use them for POTA. I was a little discouraged with their functionality, and even offered to sell them at one point — but I didn’t.
Here lately, I have been pairing my paddles with my various radios. My Begali Signature with my IC-7610, Begali Traveler Light with my IC-7300, Begali Adventure with my IC-705, and my N0SA SOTA paddle with my TX-500. I have a Penntek TR-45L on order. It is a CW-only radio that has a nice retro look. I thought these paddles would be a great match for this radio. What I want for this radio is a set of paddles that can be operated with one hand. The TR-45L is a tabletop radio https://www.wa3rnc.com/store/penntek-tr-45l-qrp-transceiver. I envision its use at a park during a POTA activation. I decided what my ZN-Lite II paddles needed was a heavier base. I ordered from Amazon a 3″ diameter, 1/2″ thick piece of steel.
I drilled a hole to mount the paddle and 4 smaller holes to mount the rubber feet. The paddle hole is countersunk on the bottom so the screw head is below (or above) the surface of the base. That way it can be used without the feet.
The holes for the feet were drilled and tapped for 8-32 thread. I had to drill the hole all the way through because I didn’t have a bottom tap. Without a bottom tap, there would not have been enough threads in the hole if I didn’t drill all the way through. When I do these projects, I basically use hand tools and in this case, I used a cheap drill press I bought from Home Depot.
Here is a view of the base from the bottom.
Because the paddle mounting hole is offset from the center, I can mount the paddle two ways.
In the bottom picture, the base offers some protection for the paddles. Even though I can loosen the screw to move the paddles to where they face outboard, I found that I prefer the paddles facing inboard like the bottom picture. I feel it offers a little more stability. This mod allows me to use the paddles one-handed on most surfaces. The last step was painting. I put a coat of gray primer, followed by a coat of Nickel Metallic (Rustoleum), and finished off with a clear coat.
I didn’t go overboard with the painting. The main goal was to give the metal a little protection from corrosion. Basically one coat of each with a 15-30 minute wait time between coats. I chose the color because I thought it would complement the paddles. I think it did.
There you have it, a nice set of paddles ready for my next adventure. 73’s Scott


What a fantastic project, Scott! A very simple adition to your ZN-Lite II paddles that makes them *so* much more useful. I this this will pair beautifully with your new TR-45L!
Thank you so much for sharing this project with us.
Cheers,
Thomas
K4SWL
My pleasure Thomas. I am always tinkering with something. I like giving people ideas for their own projects.