 Many thanks to Keith (KY4KK) who shares the following report:
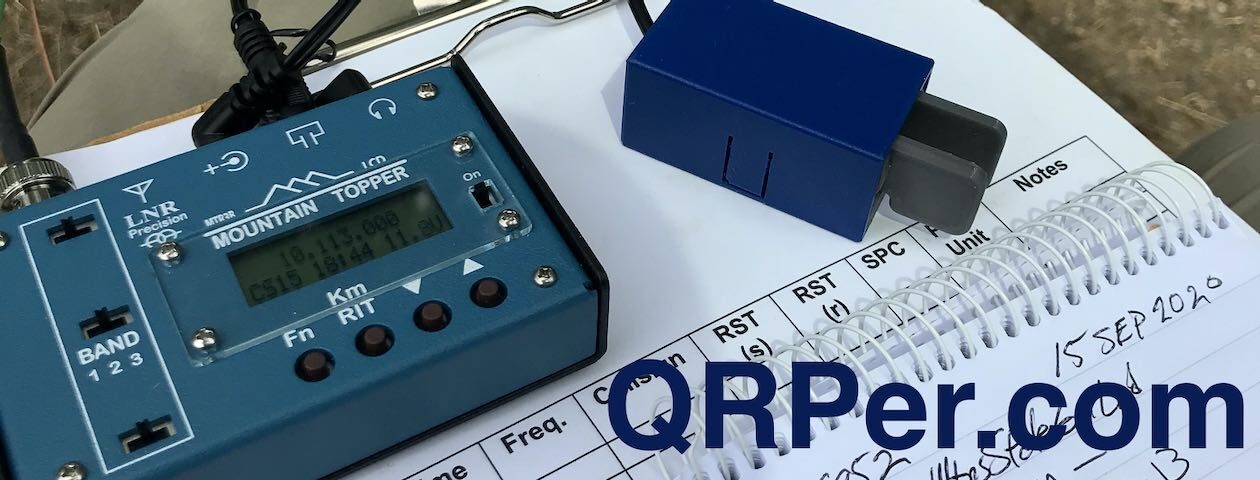
Extreme QRP – Testing the AX1 with WSPR and 20mW
by Keith (KY4KK)
Thomas, thanks for all of your activation videos related to the Elecraft AX1 antenna. I ordered one the day you announced the package deal, and it arrived in less than a week. I’ve activated a few parks with it already (20m SSB). Like you and many others, I’m impressed.
I was very interested in Thomas Barris’ (DM1TBE) March 12 QRPer post using WSPR to test his POTA antennas in Germany. Then I saw Bob’s (K7ZB) post about his ZachTek Flea with 300 milliwatts in CW mode. To me, extreme QRP represents some of the magic of HAM radio. I’d like to share one of my most recent WSPR experiments related to the AX1.
About a year ago, a friend (NG4S) loaned me his pair of WSPR transmitters and suggested that I explore building and comparing antennas. I’ve been hooked on antennas of all kinds and WSPR since then.
I began doing WSPR tests on the AX1 the day after it arrived. With two transmitters set to the same frequency and power output, you can do direct comparisons between two antennas under identical propagation conditions.
I’ve already done a couple of comparisons between the AX1 and other commercial antennas. But I think the test I just completed might be of particular interest because it pits the AX1 against an antenna I’ve seen you use many times – a 28.5’ end fed with a 28.5’ counterpoise. I used 24 AWG silicone insulated wire. The end of the radiator was placed on a 19’5” telescoping fishing pole. This is my preferred POTA mast when I can’t use a tall tree.
I spent some time trying to control other variables so that the only significant difference during the test would be the antennas themselves.
For example, the SOTA Beam WSPRLite Classic transmitters don’t have an ATU. So, I had to make the antennas resonant on the 20-meter WSPR frequency of 14.097 MHz. For the AX1, Thomas’ videos helped a lot. I used a clip-on capacitance hat and adjusted the counterpoise to 15’ 2”. This gave me an SWR of 1.17:1. For the end fed, I tried the two UNUN’s I had available and settled on the 49:1, which got me the closest (2.2:1). I then used a manual tuner to achieve an SWR of 1.29:1.
I also wanted to deal with the difference in power output between the two transmitters. Although they’re identical, and both set to 20 milliwatts, there is no way to ensure both are actually producing that output level. Based on tests by NG4S, one of the transmitters runs at 19 milliwatts. The other actually outputs 27 milliwatts. So, my plan was to run the test for 48 hours. At the end of 24 hours, I would switch the transmitters (and callsigns) so that both antennas would benefit (relatively equally) from one of the transmitters being stronger.
At the end of Day 1, I reviewed the data from the two transmitters on dxplorer.net/wspr. The end fed averaged a 5.7 dB gain over the AX1 based on reports from receiving stations that spotted both transmitters in the same 10-minute block (simultaneous spots).
On Day 1, the stronger transmitter was on the end fed. The maps below are from WSPR.rocks.
AX1 – Day 1

End Fed – Day 1

I was pretty impressed that the AX1 got into Europe and Africa on only .019 Watt! I always have good luck with end feds, so was not too surprised to see this one perform well. Continue reading Guest Post: Extreme QRP–Testing the AX1 with WSPR and 20mW


