Many thanks to Brain (K3ES) who shares the following guest post:

Reflections on Activating a Not-so-New Park
by Brian (K3ES)
Monday, April 3 was one of those beautiful, warmish (60ºF or 16ºC) sunny days in northwest Pennsylvania that remind us that spring is really here. Only a week earlier, we had an unexpected snow fall that covered the ground (and it will likely not be our last snow of the season). So my wife, her father, and the dogs all looked forward to getting out of the house to enjoy the weather. We packed for a picnic, and drove through bright sunshine to Kinzua Bridge State Park.
After a picnic lunch, and while Becky and her dad explored the visitor center and walked the dogs, I set up for a Parks on the Air (POTA) activation of K-1366. This would be my first activation of the park, but not my first visit. I have been there several times before, including an excursion trip behind a steam engine that took me across the railroad bridge over Kinzua Creek and back.

An Historic Park
Kinzua Bridge State Park has an interesting history. The railroad bridge that gives the park its name was originally built of wrought iron in 1882. At the time it was built, the 301 ft (92m) high and 2052 ft (625m) long railroad bridge was the highest in the world. It was rebuilt in place in 1900, replacing iron with steel, to strengthen it for the heavier trains that needed to cross. The bridge remained in commercial service until 1952, and was later sold to the Commonwealth of Pennsylvania for a State Park. The bridge continued to support excursion trains and pedestrian traffic until 2002, but was struck by a tornado in 2003, causing its partial collapse. Today, the remaining part of the bridge has been rebuilt as a pedestrian skyway, complete with a glass floor at its end to look down at the valley far below.
The visitor center provides an excellent multimedia overview of the economics, technology, and history of the structure. It is well worth a visit. Similarly, the skyway gives a spectacular view of the structure, the collapsed towers, and the surrounding Pennsylvania forest. The park has picnic facilities and hiking trails, and a trailhead for the rail trail that has repurposed the old railroad right-of-way.

The Setup for Activation
I stopped into the visitor center to let the staff know of my intention to activate. I found them to be friendly and accommodating, which always makes activating a pleasure. I do my best to be a good ambassador for amateur radio and the POTA program.
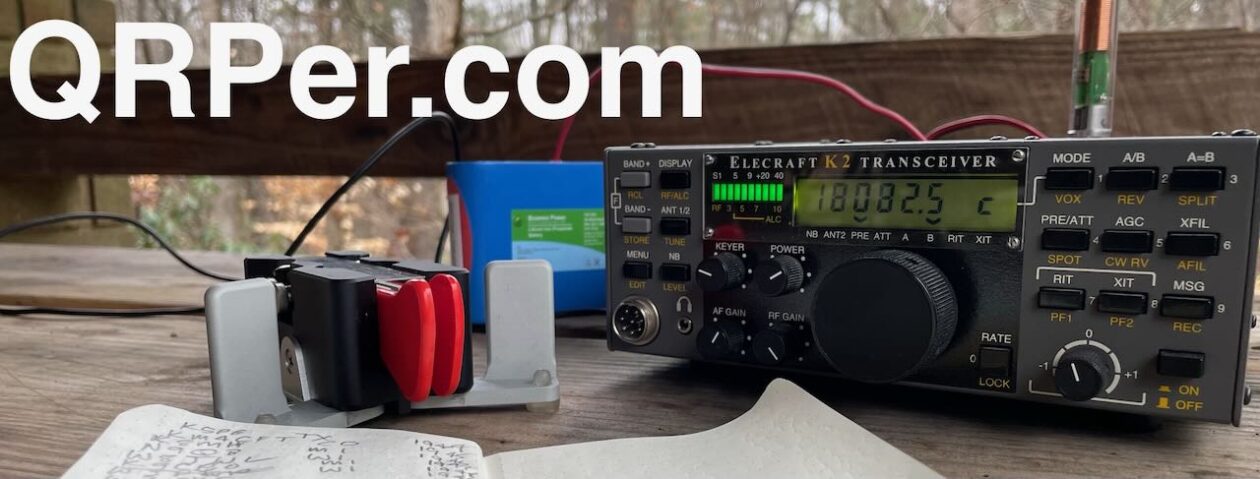
For activating, I set up at a remote picnic table. Three tosses got the throw line over a good branch to support my Tufteln 9:1 random wire antenna. A 15 ft RG-316 cable connected the antenna to my Elecraft KX2. Completing the station were a 3 Ah LiFePO4 battery, a set of generic earbuds, and VK3IL pressure paddles. I used a clipboard to keep my notepad from blowing around in the breeze, while I logged with a mechanical pencil.

The Activation
As I finished getting the station ready to go, it occurred to me that I had a frequency-agile-antenna and rig, a bit more than an hour to operate, and no other operators in the area. So, I took the opportunity to try for contacts on as many bands as possible, inching my way toward the POTA N1CC Activator award for making contacts on 10 bands from 10 parks. The park has good cell coverage, so I was able to use my phone to spot myself. After that, I mostly left things to the Reverse Beacon Network and the POTA spotting gateway, but I was able to use the phone to confirm that my changes in frequency were picked up.
In 70 minutes of CW operation at 5 watts, I made total of 26 contacts, including at least one contact each on the 10, 12, 15, 17, 20, 30, and 40m bands. An apology to the hunters may be in order, because I was harder-than-usual to contact. After making a contact on each band, I would QSY to the next at the first significant lull in the action. I look forward to another trip back to K-1366 to try for contacts on the 3 additional bands needed to complete its activation toward my N1CC.
As you might guess, by using multiple bands, the contacts came from both far and near: as far as Spain to the east and Oregon to the west, and as near as New York, Pennsylvania, Ohio, and Michigan. Middling distances were also well represented in the log.

Equipment
Note: Amazon links are affiliate links that support QRPer.com.
- Elecraft KX2 with internal antenna tuner
- Bioenno 3 Ah LiFePO4 battery
- Tufteln 9:1 unun random wire antenna with 35 ft radiator and 17 ft counterpoise
- VK3IL-design homebrew pressure paddles
- Generic earbuds
- Homebrew 7 x 10 inch (18 x 25 cm) clipboard (size reduced to fit my pack)
- Rite in the Rain No. 946 notepad
- Pentel Twist-Erase mechanical pencil in 0.9mm (for my heavy hand)
- 15 ft RG-316 feedline (BNC male to BNC male)
- Arborist kit with 2mm Marlow Excel line and Petzel 9 oz (250g) throw bag.
Conclusion
This outing made for a fun and productive afternoon that was all the more enjoyable for sharing it with my family.
It also made for a great opportunity to shake off the winter blahs, and it held the promise of beautiful spring and summer days for more park activations.
Best 73 de Brian – K3ES


