
Many thanks to Micah (N4MJL) who shares the following guest post:
Fort Point (3-Fer POTA activation) San Francisco 1 June 2024
by Micah (N4MJL)

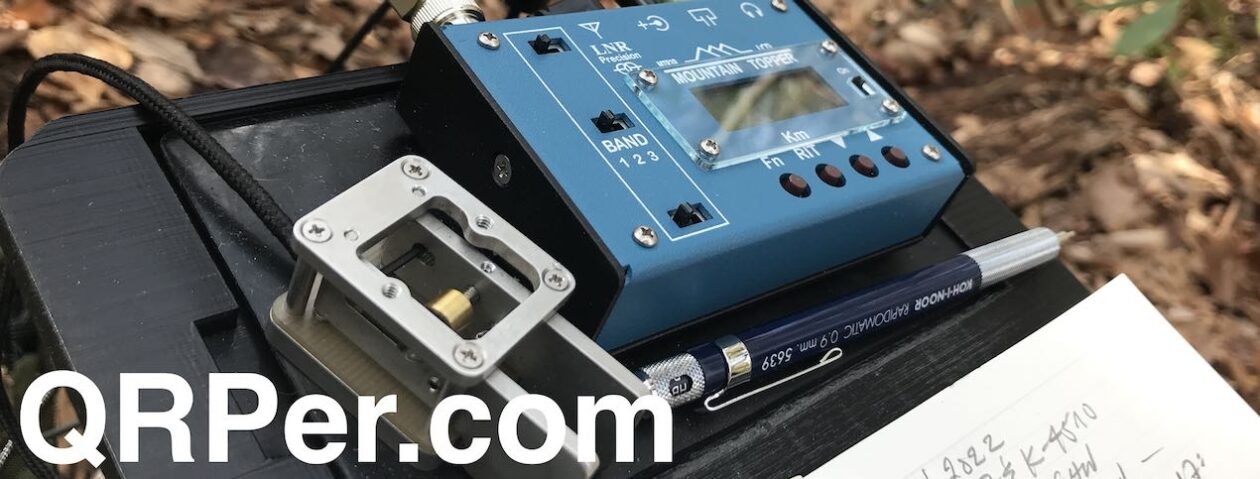
What do you do with 24 hours off in San Francisco? Well, as a card carrying FCC certified nerd, I hit the streets and headed off to Fort Point with my brand new Elecraft KH1 for an afternoon of sightseeing and history.
Fort Point is the only brick fort on the west coast of the United States. Construction on the fort was from 1853-1861. Shortly after completion of Fort Point, the Civil War began. By the end of the Civil War, advances in military technology had rendered the fort less effective.
Cannons were finally removed from the fort in the 1890s. Brick fortifications were simply no match for rifled cannons and iron clad war ships. In the 1930s, the fort was used as a command center, cafeteria, and barracks for the engineers building the Golden Gate bridge.
Leading up to WWII, Fort Point would continue to play a key roll in San Francisco harbor defenses. Durring WWII fort point was a control center for the submarine net across the harbor. In the 1970s Fort Point would finally be officially categorized as a Notional Historical Site (POTA US-0819).

ATTENTION: Full disclosure here!
The sexy photo (above) with my KH1 on the ramparts of the fort, with the American Flag and Golden Gate Bridge in the background was a staged photo.
Yes, I’m sorry, not a single QSO was made from that position. It was simply too loud, too cold, and too distracting to operate from that position. Best of luck to anyone attempting to operating from there.
The vehicle traffic noise, venture affect off the wind, and the constant flow of tourists made it a very difficult spot. Instead I operated on a bench next to the bathrooms outside the walls of the fort but well within the confines of the Historical Park site. The single brick column next to the road in the picture above is the boundary line for operating in Fort Point US-0819. Just to the right of the brick column in the grass area against the hill is the bench (next to the bathrooms) where I operated for all my contacts.
The operating area for Fort Point is rather small and challenging. It gets very busy there. Be prepared to be asked regularly if you are tracking whales are trying to communicate with aliens….. Space aliens to be exact…..

All my contacts for this activation were from hunting park to park on 20m using whip antenna.
With the noisy distracting environment combined with my compromised antenna I did not feel comfortable calling CQ. Instead I focused on hunting parks I could hear very well in hopes they would be able to hear me with my compromised antenna. My first contact was at 1610z and my 10th contact was at 1754z. It was very slow going, but I really wanted to activate Fort Point. Not to mention the fact that Fort Point is a 3-Fer activation.

A 3-fer means that with one activation you get credit for 3 different park activations. Looking at the map above of the San Francisco area you can see that Fort Point US-0819 (#6) falls inside a much larger park entity (#7) Presidio (POTA US-7889). Both Fort Point and Presidio also both are located in an even bigger park entity known as the Golden Gate National Recreational Area GGNRA (POTA US-0647).

Restating what is written in the picture above for easier reading: After six generations, coastal defenses were made obsolete by intercontinental ballistic missiles. The Golden Gate National Recreation Area GGNRA was created largely from surplus coastal defense military reservations.


So much can be said about Presidio of San Francisco (US-7889). It served as a military out post for the Spanish Empire(1776-1821ish), Mexican Republic(1821-1846), and United States Army (1847-1989).
As a pilot, I have to mention Crissy Field. Crissy Field is part of the Presidio park, and played a huge part in the fast development in aviation technology. The first successful dawn to dusk trans con (east coast to west coast) flight landed at Crissy Field June 1924. In addition to military operations, the airfield played a major role for Coast Guard Search & Rescue, AirMail, and Forest Fire Surveillance.
The Presidio is a very large park, that’s offers many stunning views of the area. There are plenty tucked away picnic tables near tall trees that are just begging you to hang a wire antenna.
As an airline pilot, I am in San Francisco often. I am always operating QRP and much of the time I’m having to use a whip antenna due to busy/small operating area. As my CW skills improve I hope to get more of you in my log in some of these hard to activate parks.
PS Don’t quote me on this history stuff. Remember I’m a pilot not a history major, so I’m just kind of winging it.
Until then 72 . .
~ Micah J. LaVanchy


