
On Friday, May 23, 2025, I had a good 90 or so minutes to play radio, and the Blue Ridge Parkway (as always) is the easiest hit for me when running around in the Asheville, NC area.
I was in the western part of Asheville, though, so I needed to find a site to set up. I’d packed my Yaesu FT-818, which is very much a tabletop radio (compared with, say, my Elecraft KX2 or KH1). A picnic table would have been ideal, but there are no sites on the BRP with picnic tables in the western part of town.
I could have driven a bit further to Lake Powhatan, but it would have cut 20 or so minutes out of my activation and I’d rather opt for more time on the air than the convenience of a picnic table.
Fortunately, I packed a secret weapon—one I’d taken to Hamvention weekend and was still in the car…
The Nemo Moonlander Portable Table

There’s a story behind this table.
Back in November 2023, when we were recording the “Holiday Shopping Show” on the Ham Radio Workbench Podcast, my dear friend George (KJ6VU)—who shares a passion for quality gear—suggested that I invest in a Nemo Moonlander portable table [note: QRPer Amazon affiliate link].
I’ll be honest: I had some credit either on Amazon or REI (I can’t remember) and decided to make the purchase based solely on George’s recommendation.
This was a splurge since the Moonlander costs around $150–180 US (!!!), depending on the color variation. When I purchased mine, I believe I paid about $160. In my book, that’s a lot of money for a portable table.

George’s selling point was that it’s the only portable table he’d used that was actually super sturdy and functional. The table surface is strong, the table has two heights (with and without the legs installed), and it folds flat. It’s not super lightweight like some portable table options on the market, but it is adaptable and useful.
When I received the Moonlander, I was very pleased with the design: it was everything George had described. The surface is so strong I could put a heavy object on it and the table wouldn’t buckle. The table, if anything, feels over-engineered. I like that.

Thing is, though, I hardly ever thought about taking this little table out to the field with me with POTA or SOTA in mind. We used it a bit for family picnics, but I tended to default to my smaller portable radios combined with a kneeboard to play radio in the field where there are no picnic tables or benches to set up.
In fact, I believe the first time I used this little table in a field radio outing was this past December (one full year after I’d purchased it) for this Christmas Eve video.
 During that outing, I only used the table to hold my coffee and some Christmas cookies. I still used my kneeboard to hold my KX2.
I realized during that outing, though, that the height of the Moonlander table—with the legs installed—was about perfect for the height of my much-loved Helinox backpack chair. With it set up next to the chair, it was a great ergonomic height for me to reach things on the table.
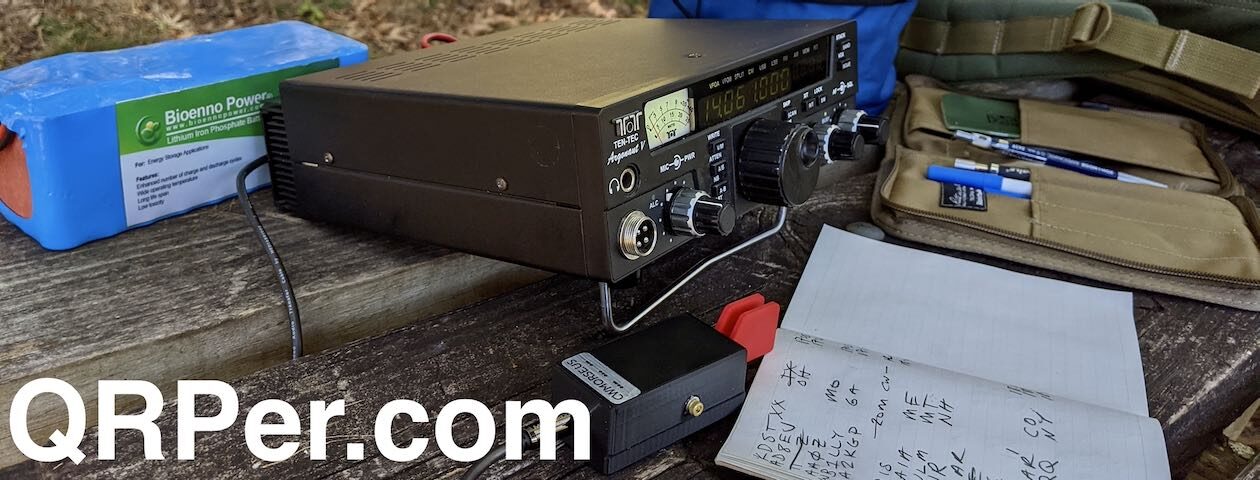
Two months later, in early February, I took the Nemo Moonlander to the field and thought I’d experiment with using it to hold my radio and key. For some reason, I can’t find this field report or video in my archives (I’ll need to check my hard drive once I’m back from my Canada travels). Here’s a photo from that activation:

This activation taught me that the Moonlander is actually incredibly functional and gives me the flexibility to use my larger portables like the TR-45L, Argonaut V or VI, K2, RGO One, or my FT-818 (the subject of this field report) a proper place to operate.
I had not recommended the Nemo Moonlander up to this point on QRPer.com because I felt like it was just too pricey for something that had limited utility for field radio operating. My mind has completely changed on this point, though! Yes, it’s very pricey and, yes, I’m sure there are cheaper third-party knock-offs of this design already, but I’m very pleased with this purchase. I feel like the Moonlander will last me the rest of my days. The folding design is so clever. Check out this from Nemo showing the components and how it can be set up:

In short, I’ve really done a 180 here: the Moonlander—very much an impulse purchase at the time with a touch of buyer’s remorse—has become one of my favorite field accessories.
Back to our field report…
 I drove to a site on the Blue Ridge Parkway near the bridge that crosses I-26 where there’s an easy pull-off and parking spot for a few cars. I’ve activated this particular site at least once before.
I walked into the woods perhaps 10 meters and started setting up my table and radio gear.
 I was in a bit of pain that day, and I mention this in the video because I was a little concerned I might have difficulty sitting in my hiking chair so close to the ground. The previous evening, when walking to my neighbor’s house on a path in the woods, I slipped on a large white oak trunk. I landed on the right side of my chest on the log. The pain was significant enough earlier the next morning (the day of this activation) I set up an appointment at my doctor’s office and they made a few chest x-rays. Fortunately, it was just bruised ribs. Also fortunately, it didn’t cause me too many problems during this activation—I just had to be careful how I moved about.
 I set up the Yaesu FT-818 in short order and deployed my end-fed half-wave antenna knowing that it would give me good coverage sans ATU on the 20 and 40 meter bands.
Band conditions had been so crappy, I wasn’t sure what to expect once I hopped on the air.
Fortunately, it turned out that propagation was pretty solid that day…
Gear

Note: All Amazon, CW Morse, ABR, Chelegance, Spooltenna, eBay, and Radioddity links are affiliate links that support QRPer.com at no cost to you.
Radio and Battery System
Antenna & Cable Assembly
- Homebrew MW0SAW End-Fed Half-Wave on a SOTAbeams winder
- ABR Industries 25’ RG-316 cable assembly with three in-line ferrites (Use Coupon Code ABR10QRPER for 10% Discount!)
Arborist Throw Line
Key and Accessories
- BaMaKeY TP-III Ultra-Compact Twin Paddle
- Senrog Bench Block TP-III base
- Tufteln TP-III Magnetic Protective Cover
- Key cable: Cable Matters 2-Pack Gold-Plated Retractable Aux Cable – 2.5 Feet
Other Gear
- NEMO Moonlander Portable Table
- NEMO Resolve 25L Backpack
- Rite In The Rain Top Spiral Notebook
- GraphGear 0.9mm 1000 Automatic Drafting Pencil
Camera and Audio
- DJI OSMO 4 action camera with Joby Telepod Sport Tripod
- DJI Wireless Microphones
On The Air
 I started calling CQ POTA on the 20 meter band and was rewarded with a nice stream of adept POTA hunters calling. Continue reading Moonlander to the Rescue: A Tabletop FT-818 POTA Activation on the Blue Ridge Parkway


