
On the morning of Wednesday, June 14, 2023, I left the QTH with a goal in mind: fit in a POTA activation before taking my sweet mom to an appointment that afternoon. As I’ve mentioned in the past, there are about four park options that are easy detours off the 1.5 hour drive to my parents’ home, so it was very much doable.
I decided to go to Tuttle (K-4861) since it would be very close to one of my favorite lunch spots (Food Matters in Morganton). I figured I could fit in an activation, then grab lunch after, and still make the appointment with time to spare.
In almost every case, this is how I do POTA these days: it’s all about fitting in activations with weekly travels and errands. It’s rare that I simply plot out an activation or two the day before. More often than not, I schedule my activation a max of 30 minutes before I arrive at the park.
I arrived at Tuttle around 11:30 AM and had the park to myself. There were no other guests there, just park rangers. And lots of birds.
PSA: Buy/Build quality cable assemblies!
 A couple days prior, I received a cable assembly sample in the post: a 25 foot RG-316 cable with BNCs on both ends and three series 31 in-line ferrites from ABR Industries. These slim in-line chokes are a new option ABR is offering, hence the reason they send me the assembly.
I speak about this at length in my video below, but I’ve been a customer of ABR Industries for well over a decade now. ABR is a USA supplier of high quality cable, cable assemblies, and other cable components. I’m a huge fan. In fact, I wrote about them separately on the SWLing Post a couple years ago.
Full disclosure: ABR Industries sent me this cable assembly (and one other I’ll feature in a future report) free of charge. They are not a sponsor (although I’d love for them to be) and I’ve no other relationship with them other than being a customer.
I go into greater detail in my video, but I learned a while back just how important it is to use high-quality cable assemblies, adapters, and connectors in the field and at the QTH.
As a field operator, I know my cable assemblies are essentially consumables. With all of the winding, deployments, packing, being outdoors, rough handling, etc. they will eventually fail. (In fact, Alan made a point of this in his latest field report when a mishap in the field broke a good assembly.)
High quality cable assemblies will not only provide better longevity and better durability, but also less loss and overall higher performance. It’s worth the cost because when I hike to a summit, the last think I want to discover is that my cable assembly has failed.
Note that I also build my own cable assemblies (indeed, I feel like all radio ops should learn this simple skill) and try to use quality components and best practices to make the best assemblies I can.
Take-away is: don’t skimp on your cable assemblies. I no longer buy my cable assemblies from random suppliers on eBay or Amazon, I buy them from companies that build and test their assemblies within our hobby; companies like PackTenna, Tufteln, Messi & Paoloni, and ABR Industries.
Here ends my PSA…let’s get on with the activation!
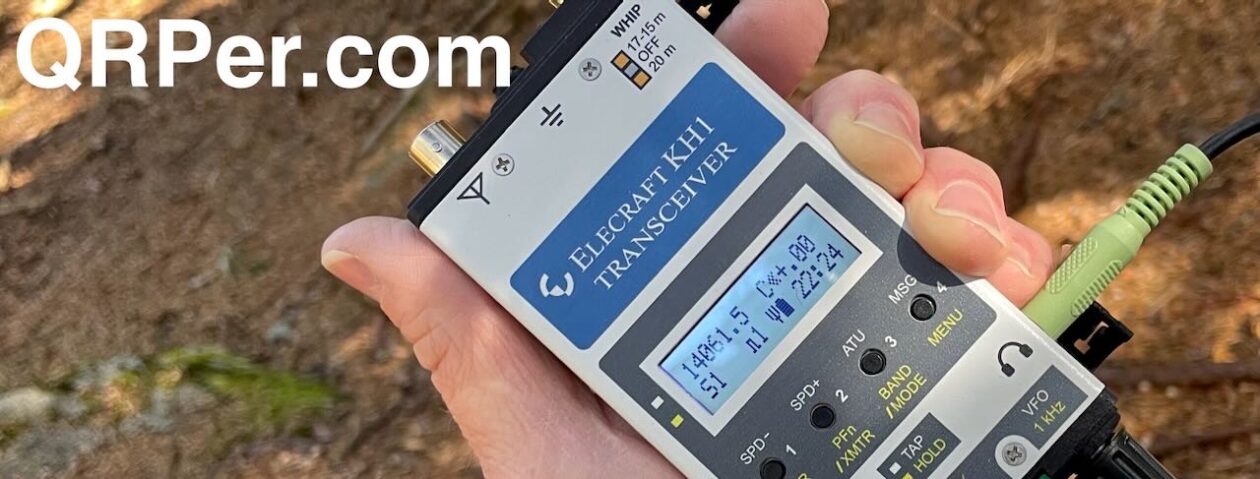
Tuttle Educational State Forest (K-4861)

I spent quite a bit of time talking about cable assemblies, then I moved straight into setting up my field gear. I launched a line and deployed my cannibalized 40m EFHW again and connected it to the Penntek TR-45L. Continue reading POTA with the Penntek TR-45L and importance of quality cable assemblies!


