 One of the things I love about our state and national parks is that no matter how often I visit, there’s almost always something new to discover.
This is especially the case as the seasons change from winter to spring.
On March 20, 2022, I carved out enough time in my afternoon to fit in a quick activation of Tuttle Educational State Forest. My main goal, in truth, was fitting in a nice hike–the weather was beautiful, although it was rather gusty.
I needed a little “radio therapy” that day as I had been spending time in the hospital with my mom who had a nasty case of pneumonia. This was a few weeks ago and she’s feeling much better now, thankfully, but those hospital weeks in March were pretty stressful for all of us.
Field activations are such an effective way for me to get in a little exercise, a little radio time, and clear my mind; again, proper “radio therapy.”
Tuttle Educational State Forest (K-4861)
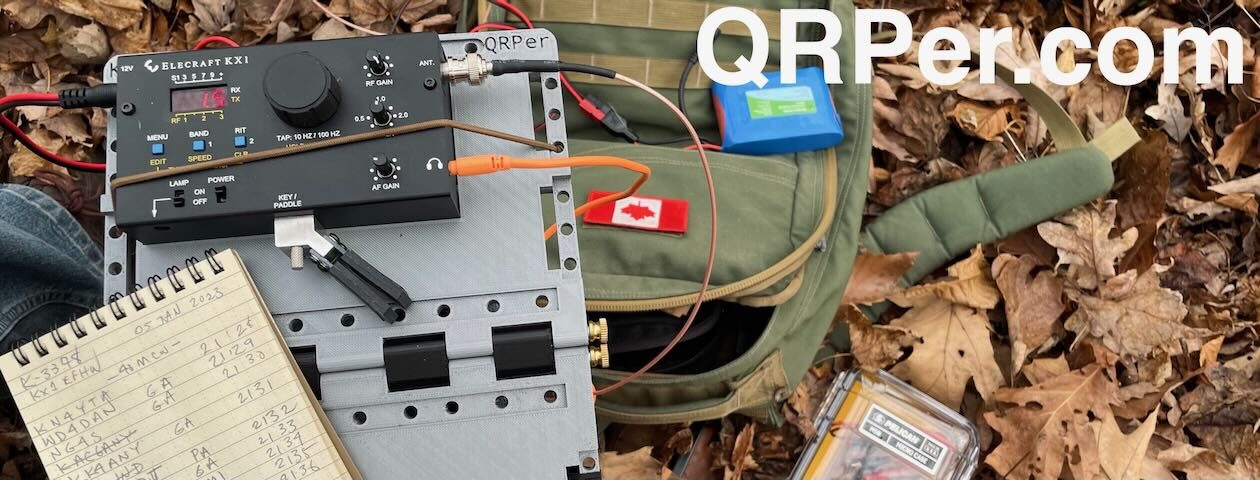
 For this trip, I packed the Elecraft KX1 field kit which included my K6ARK EFHW antenna since that was the last pairing I’d used int he field (click here to read that report). I did, however, transfer the KX1 to my new Pelican 1060 waterproof case.
 I actually have a solid yellow Pelican 1060 case for the KX1, but after reading about Leo’s QCX-mini field kit built in a clear-topped Peli 1060, I realized how much I missed having a clear lid on the 1060. I checked Amazon and discovered that their blue one was on sale, so I grabbed one. This was a total impulse purchase, by the way.
And for the record: I’m accused of being a radio enabler on a daily basis, but in my defence I promise the enabling works both ways! I’ve bought so many things based on reader recommendations. 🙂 Continue reading POTA Field Report: Gazebo QRV & Gusty Winds with the Elecraft KX1 and K6ARK EFHW


