
Many thanks to Micah (N4MJL) who shares the following article about his portable field radio kit which will be featured on our Field Kit Gallery page.
Mountain Topper MTR-4B Field Kit
by Micah (N4MJL)
I am a very, very new CW operator! I’m also an airline pilot who travels quite a bit. Many times when I’m out flying my company provided hotel rooms are within walking distance of POTA parks.
The MTR-4B is my travel radio. It lives in my suitcase nestled in a Magpul DAKA Utility Organizer pouch.

The DAKA pouch holds:
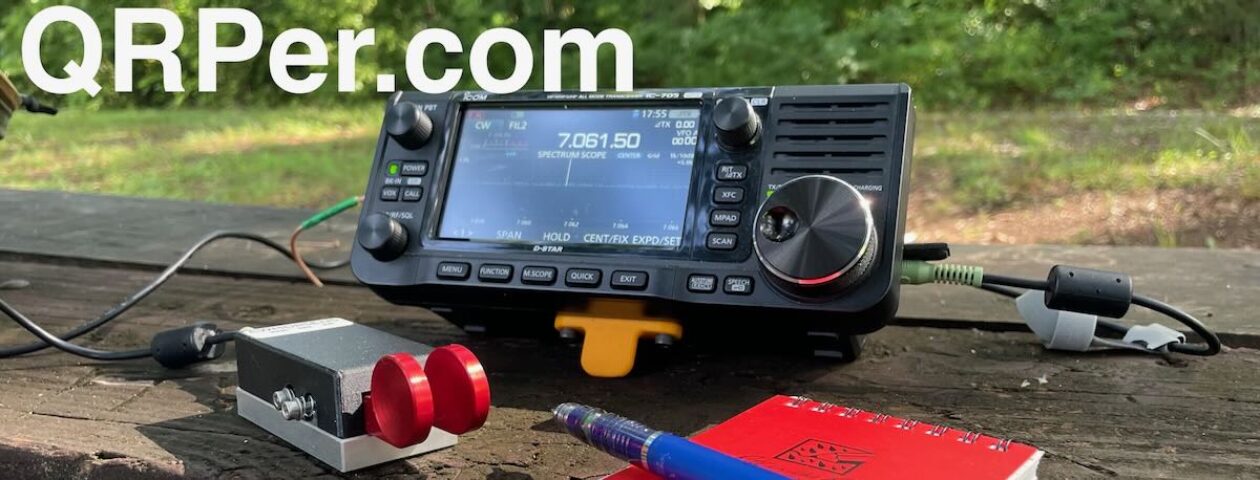
- Mountain Topper MTR4B Radio/ foam screen protector
- TP-III KEY (3d printed key protector)
- Write in the Rain notebook/pen [affiliate link]
- ear buds
- Koss In-line analog volume control [affiliate link]
- Power cables (2.5/2.1 barrel) (USB-usbc)
- 9v battery and connector to 2.5 Barrel plug
Everything has to fit nicely in my 22″ roller board.
As flight crew, our roller boards are typically from Luggage Works or StrongBags. I have found that I can always make room for more radio gear in my luggage by packing less undergarments. I mean, you can always make your underwear and socks last another 24 hours by turning them inside out for another wear. Lol
 The SOTA beams Tactical Mini Mast fits diagonally in my 22″ roller board. Wrapped around it are some rubber coated heavy wire for securing it to a post/shrub if available.
The SOTAbeams Band Hopper III is my go to antenna. This antenna does it all!
- rated 125W
- it’s a a full size half wave dipole
- with 33ft RG174 coax
- guying system
- resonant on (20m 30m 40m) no tuner needed
- has a balun
- only weighs 14oz
The wire/guying winders are awesome. I have used this system in the sand on a beach and on a mountain top above the tree line. I replaced the aluminum tent pegs with some plastic ones to keep TSA a bit more happy with me.
I use a Talent cell battery [affiliate link] everyday for a recharge while on the go. It is large enough to power my cell phone/iPad while also powering my MTR, and the voltage output is safe for the MTR to handle.


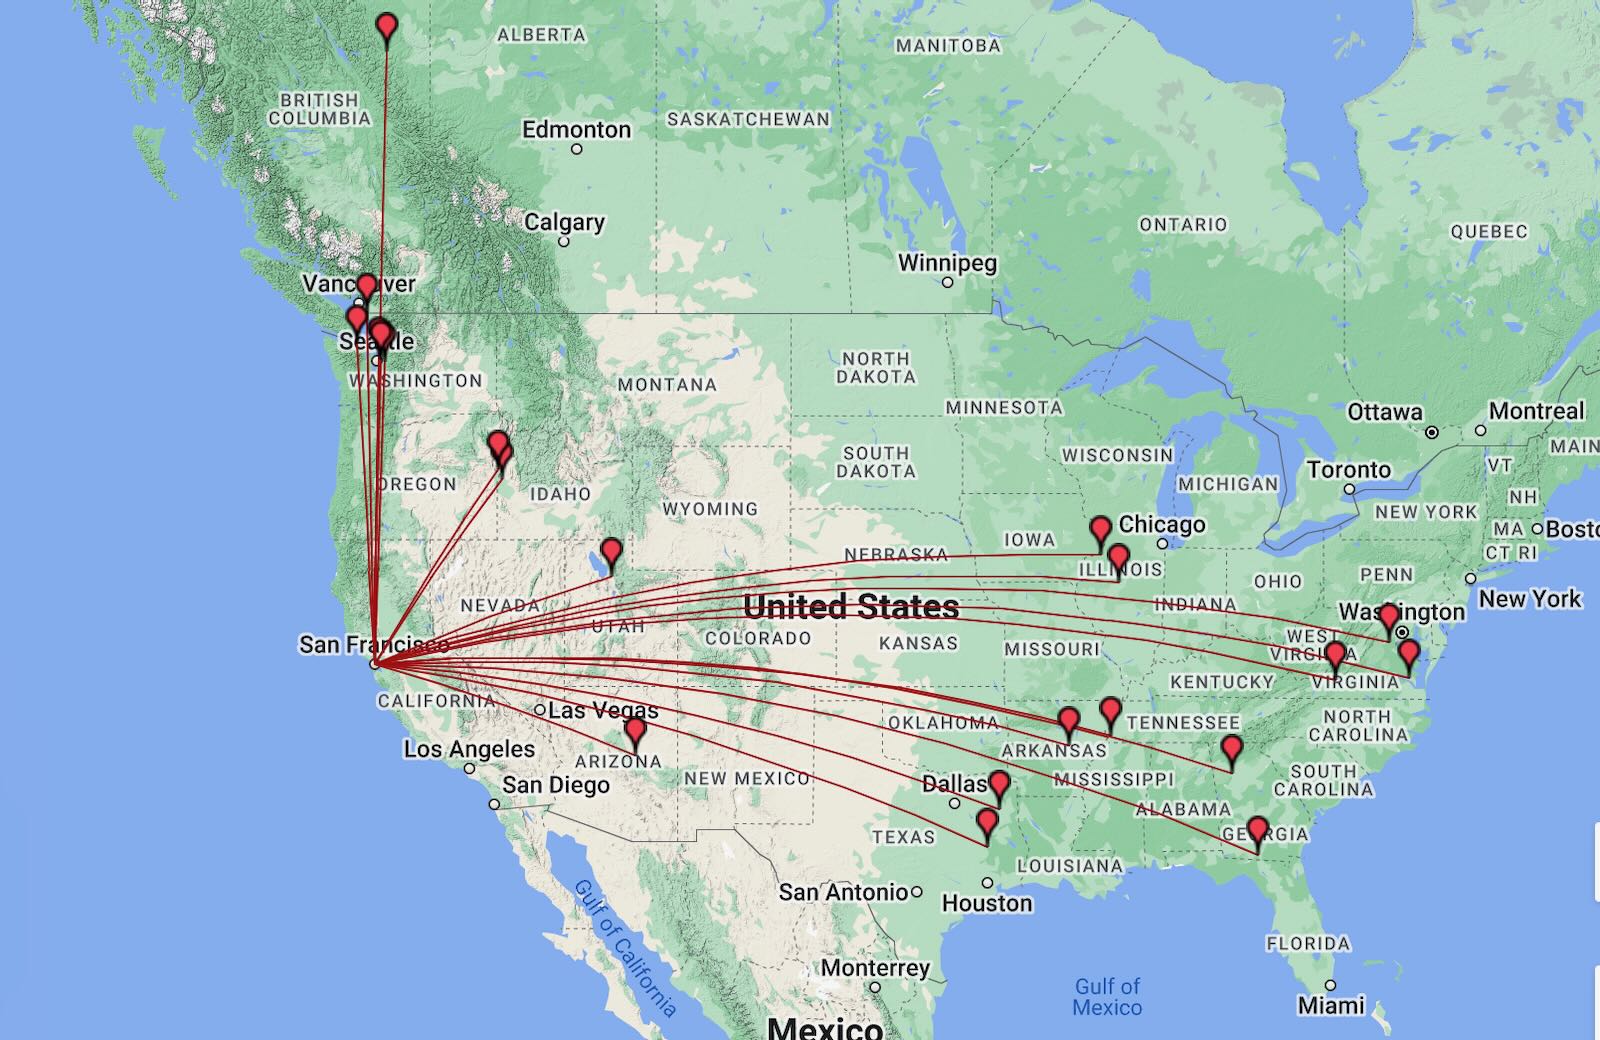
My CW skills are not yet to the point that I am able to activate a park by running a pile up, so I do a lot of hunting. If one day you have me in you log book from California and the very next day I’m sending from Massachusetts that’s not a mistake, that’s just my life. 73!
~ Micah J. LaVanchy N4MJL