
by Teri (KO4WFP)
Now that life has settled down, it is time to return to my 60 new-to-me park activations goal for 2024. I currently stand at 24 out of the 60. For #25 on the list, I chose Penholoway Swamp Wildlife Management Area (US-3767) outside of Jesup, Georgia.

This park is a one-and-a-half hour drive from my QTH. I set out around 8 AM this past Wednesday, May 8th for my activation. Rather than drive Interstate 95 most of the way, I opted to drive through rural Georgia which I prefer. The route took me through the communities of Hinesville (just outside of Fort Stewart, home of the Army’s 3rd Infantry Division), Ludowici, and Jesup.
As I entered Jesup, I encountered a sizable manufacturing plant next to the Altamaha River. Owned by Rayonier, the plant is the largest speciality cellulose plant in the world, producing 330,000 metric tons a year.
Paper mills are big business in Georgia. According to georgiagrown.com, the state of Georgia accounts for 21% of all US exported pulp and paper (both newly milled & recycled products). I found a 2015 Georgia Forestry Commission report noting there are 22 pulp and paperboard mills in Georgia resulting in $12.5 billion in revenue.

Paper mills often produce a smell like rotten eggs or cabbage. In Savannah, there was the Union Camp paper mill (later purchased by International Paper) on the Savannah River. The joke I remember while growing up in Savannah was that when tourists asked what that smell was, you would reply “the smell of money.” The Savannah mill is still operating and produces a million tons of paper product every year which eventually gets made into cardboard boxes.
Penholoway Swamp Wildlife Management Area (WMA) is a 10,500+ acre property near the Altamaha River with hunting opportunities. The WMA contains lots of pine stands including several stands of longleaf pines which are maintained by prescribed fire and mechanical thinning. As I mentioned in my Oliver Bridge WMA trip report, longleaf pine areas are important habitat for threatened species such as the gopher tortoise and indigo snake.

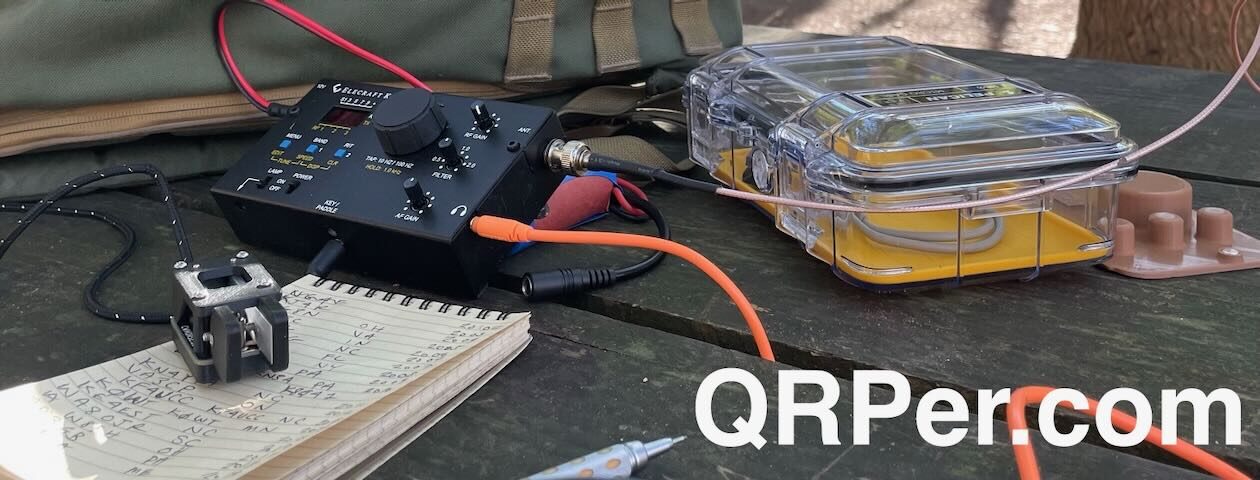
I thought I would set up my station near the kiosk at the entrance. However, there was not much room and what little there was didn’t offer much shade. Looking at the map I printed from the GA Department of Natural Resources (DNR) website, I decided to drive down Post Road to where it dead-ends into Hinson Road near the Altamaha River. Maybe that section of the park would be more secluded and offer some shade.


Sure enough, the section of Hinson Road off to the left of Post Road went a little way before being blocked off by a gate. Oaks, pines, and other trees created a canopy over the road and looked like a perfect QTH off the beaten path.


Before I left the house, I checked the GA DNR Hunting Regulations booklet as to what might be in season for this WMA. Turkey is currently being hunted, though I didn’t expect on a weekday to run into many hunters. Either way, I made sure to don my blaze orange hat and vest as well as put Daisy’s vest on her before setting up my equipment. Continue reading The POTA Babe Resumes Pursuit of Her Goal


