
On Sunday, June 22, we spent the day in Québec City enjoying a local farmer’s market, visiting a café, catching up with friends, and taking a long walk in the woods. Somehow, we managed to return to our condo in St-Ferréol-les-Neiges, Québec, by 3:30 in the afternoon.
My wife and daughters decided to spend some quality time reading and doing art—and frankly, I was tempted to do the same. A friend had recently prompted me to dive into the world of Three Pines, so I was working on Louise Penny’s first book, Still Life [yes, QRPer affiliate link].
But then I looked outside, checked the time, and realized I just might have enough daylight to squeeze in a quick POTA activation! My only viable site nearby was Cap Tourmente, just a short 15-minute drive from the condo.
However, Cap Tourmente closes at 5:00 PM, and with propagation having been so poor lately, I knew I had to make haste.
Cap Tourmente Réserve Nationale de Faune (CA-0012)
 In my last activation video at Cap Tourmente, I mentioned that park entry would be free under the Canada Strong Pass program. Unfortunately, I was mistaken—national wildlife refuges are not included in that program; it’s geared more toward national parks and historic sites.
No worries—I was still happy to pay the entry fee as I typically drop a donation at parks I frequent anyway.
 By the time I reached the park entrance, it was about 3:45 PM. That left me just over an hour to deploy gear, hop on the air, and complete an activation.
It was a blustery Sunday afternoon. Looking out over the St. Lawrence River, I saw nothing but white caps. The upside to all that wind? Fewer mosquitoes!

I pulled into the same large parking area where I’d activated the previous day. I backed up to a tree line, which offered some wind protection and a natural spot to deploy my antenna.
 For this activation, I wanted some frequency agility, so I opted to deploy my Tufteln end-fed random wire (EFRW) with a 31’ radiator and 17’ counterpoise.
 I backed my car toward the sun so that the open hatch would provide some welcome shade. I then set up my Moonlander table and Helinox Chair Zero for a comfy operating position.
With everything deployed, it was time to get on the air!
Gear
 Note: All Amazon and eBay links are affiliate links that support QRPer.com at no cost to you.
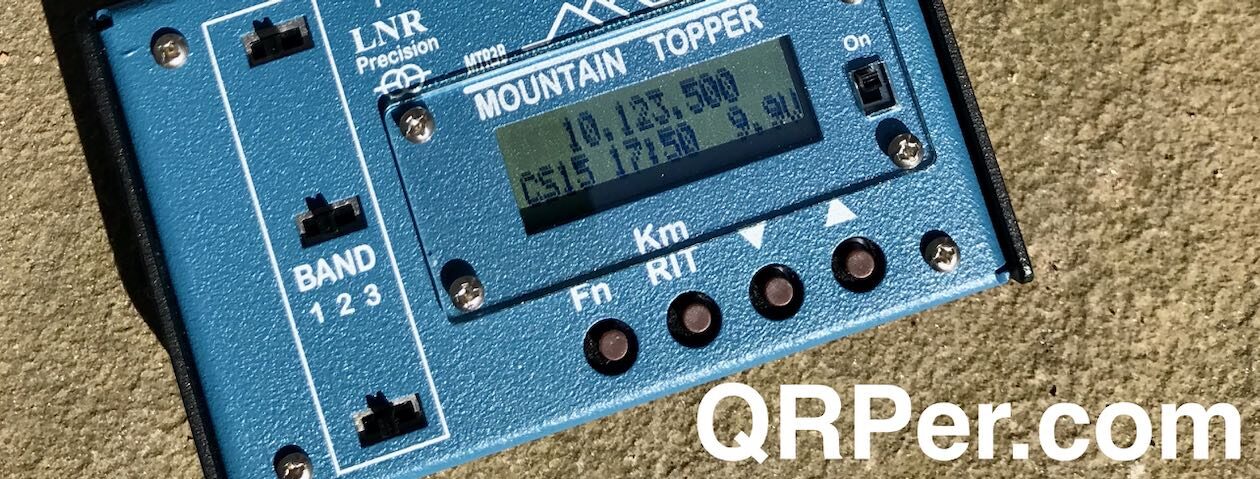
Radio
Key
- UMPP-1 Paddles by GM0EUL
- Senrog Bench Block base
- Key cable: Cable Matters 2-Pack Gold-Plated Retractable Aux Cable – 2.5 Feet
Antenna/Throw Line
- TufteIn EFRW QRP Antenna Long Wire
- Mini Arborist throw line kit: Tom Bihn Small Travel Tray, Marlow KF1050 Excel 2mm Throwline, and Weaver 8 or 10oz weight
Pack/Case
- GoRuck GR1 USA
- HEROCLIP Carabiner Clip (attached to my backpack)
- LowePro CS60 Hard Side Case
Logging Pad/Pencil
- Rite In The Rain Top Spiral Notebook (small 3×5 size)
- GraphGear 0.9mm 1000 Automatic Drafting Pencil
Chair/Table
Camera/Audio Gear
- DJI OSMO 4 action camera with Joby Telepod Sport Tripod
On The Air
 I started calling CQ POTA on 20 meters, hoping I could log at least ten stations in the ~40 minutes I had left before packing up. Continue reading Short on Time, Yet Loads of Fun: Gusty QRP POTA at Cap Tourmente!


