Tag Archives: Paddles

The Toughest CW Paddles for Field Use: What’s Your Pick?

Many thanks to Dale (N3HXZ), who writes:

“It would be nice to hear from your listeners/subscribers about which is the most robust paddle! I have not met a paddle yet that has not failed in the field at some point. Thanks for all your good work.”

This is a great question.

I feel that almost all of the paddles and keys I regularly take to the field pass muster.

Some of my picks

Note that some of the following links are affiliate links that support QRPer.com.

I’m a big fan of CW Morse’s $45 US 3D-Printed Pocket Paddle. I find it to be remarkably robust. I toss it in my backpack without any extra covers or protection, and I’ve never had one break. I also appreciate how easily adjustable it is in the field.

Similarly, the KM4CFT paddle seems to hold up well, though I haven’t owned one as long.

The CW Morse CNC Machined Aluminum Paddle is one of the most rugged paddles I own. This key is CNC-machined (except for the 3D-printed top cover), making it virtually bulletproof. A solid choice!

The BaMaKeY TP-III is another solid paddle. It’s not inexpensive, but I’ve never regretted purchasing one. When paired with the Senrog Bench Block, it becomes a stable tabletop key that won’t move as you operate. During transport, I use the Tufteln protective cover, though I feel this key could survive in a backpack with minimal extra protection.

While the VK3IL Pressure Paddle V2 doesn’t feel substantial in the hand–it’s a touch paddle built on a circuit board–it’s incredibly robust due to its lack of moving parts. It’s easy to protect in a pack, and there’s little that can go wrong with it. If you’d rather not build one yourself, Vince (VE6LK) has some excellent options.

At 298 Euro, the Begali Traveler is the most expensive paddle on this list. It’s also the heaviest. But if you’re looking for a larger, precision field key that’s robust, it’s hard to beat. The Traveler has folding wings that protect the finger pieces during transport and open when you’re ready to operate.

I love this key and take it with me when size and weight aren’t major concerns. Pair it with a Tufteln protective cover for ultimate protection in your field pack.

Your suggestions?

I’ve limited this list to keys I’ve taken to the field numerous times and have owned for at least a year. Of course, my experience is limited to the keys I own—there are so many others on the market!

In your real-world experience, what do you consider the most robust field keys? Please share your suggestions in the comments!
Assembling the MFJ-561K Miniature Travel Iambic Paddle Kit

MFJ Enterprises has an amazingly deep catalog of products. So deep, I often overlook items that could be quite useful in the field.

MFJ recently sent me one of their travel paddle kits to evaluate on QRPer.com–no doubt, they heard my plea for paddle recommendations some time ago.

Paddles are a funny thing: they’re basically a very simple switch, so not terribly difficult to homebrew. Yet sometimes we want to simply purchase pre-made paddles instead of building them.

I don’t personally want to invest crazy money in field paddles because there’s a reasonable chance they could get damaged in my pack or I could even leave them on the forest floor after a POTA/SOTA activation.

Plus, paddles aren’t the weak link in my CW game (ahem, yeah…you might have guessed it’s the operator–!).

The price of MFJ-561K paddles hits a sweet spot at  $25 US. I know of no other paddles made in the US that are cheaper (although I know I might stand corrected on this point).

For $25, you’re not getting Begali quality: you’re getting something that’s simple and gets the job done.

The MJF-561K is actually a simple kit that you assemble at home. It’s a novice build for sure, taking (generously) 20 minutes to assemble and requiring no kit building experience. You will need to use a soldering iron to attach the three conductor wire to your paddles–otherwise, it feels more like a mini Meccano or Erector set.

At one point early in the build, I did find myself looking for a detailed photo to determine how the shoulder washers were placed. I couldn’t find one, so I decided to take my own photos to help anyone else building these paddles in the future.

MJF-561K Assembly Photos

Click on the photos below to enlarge:

The shoulder washer fits in the hole on the inside of the paddle as you can see on the upper paddle lever. The larger washer goes on the outside of the paddle, insulating the solder lug and Kep nuts.

One bolt and Kep nut holds the back of the paddles to the base.

This image shows how the center contact is screwed in. Note that another solder lug is held in place under the paddles and is not in this photo, but shown in the photo below.
Once you’ve attached the bottom solder lug and Kep nut, position the center contact (on top) so that it floats between both paddle contacts before tightening down.
Next, you’ll need to strip the supplied three conductor cable, tin the ends, and solder them to the three solder lugs. Check your radio manual to determine which side of the paddle to solder the tip and ring wires based on which side of the paddles will send dits and dahs.

Hint: when attaching the cable tie/strain relief, position the cable tie locking point so that it faces up rather than down (to avoid that part of the cable tie interfering with rubber feet contact.
Next, attach the rubber feet to the base.
And, finally, attach the rubber pads to the paddles

On the air

The building process was super simple as you can see from the photos above. I didn’t test the paddles in advance to make sure the shoulder washers were insulating the contacts properly, nor did I test that my ring/tip placement was correct before soldering. I would suggest you do this!

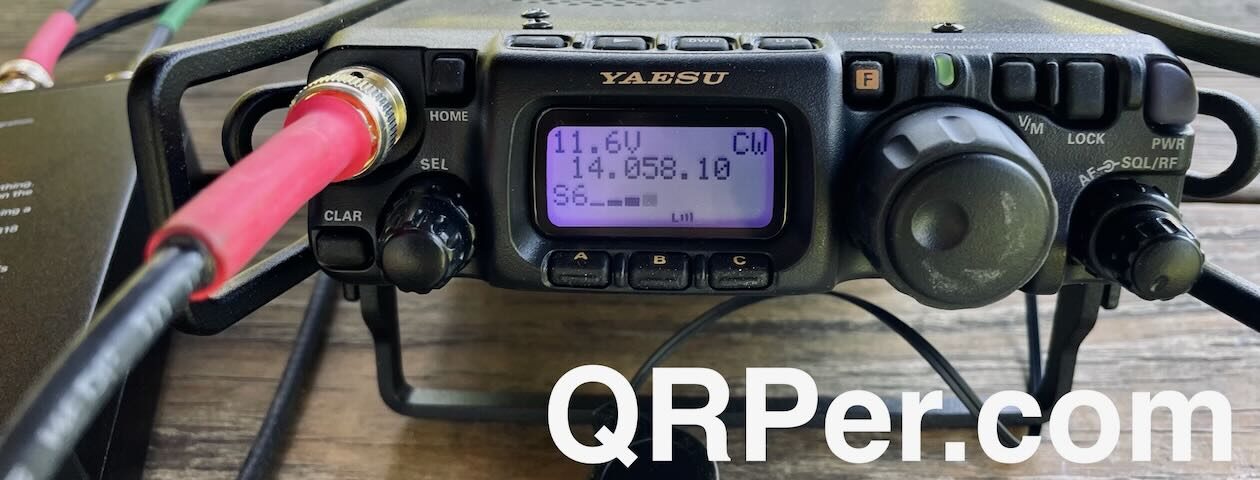
Fortunately, I plugged it into the Yaesu FT-817ND and it worked perfectly!

The paddles are lightweight and the action reminds me very much of Whiterook Paddles.

Any criticisms? For the price, these are brilliant. With that said, I wish the three conductor wire was just a bit heavier gauge. The conductors are very thin and I do worry how well they’ll hold with heavy use. Of course, it’s an easy process to replace this cable with one of my own.  Also, like most lightweight backpack paddles, the thin metal sheet base needs to be held in place while operating.

I think I might attach the paddles directly to a clipboard. If I drill two holes in the paddle base, I could mount them with small bolts onto the clipboard and remove them when done. I’ll give this some thought.

For $25, the MJF-561K paddles are a no-brainer.  I see keeping a set of these for ultralight operating and perhaps even as a set of backup paddles. And, hey! They’re a great stocking stuffer idea. I would suggest MFJ consider making a single-lever version as well.

Click here to check out the MJF-561K paddles at MFJ.

Any advice on super portable paddles?

I recently acquired a Mountain Topper MTR-3B from LnR Precision. So far, I really love this amazing little 3 band rig.

I’m looking for a set of portable paddles to put in the activation kit with the MTR-3B.

My go pack will be very compact, so I’d like a set of paddles that could easily slip in the pouch or case with the transceiver.

I’m currently using a set of Whiterock paddles with my KX2 (see photo above) and they work well enough, but I’d prefer something perhaps a little more robust and possibly even more portable.

What portable paddles do you use? Any suggestions? Please comment!