
Many thanks to Joe (N0LSD) who shares the following guest post:
Getting Started with HF Digital Modes – Without Breaking the Bank
by Joe (N0LSD)
Amateur radio can be an expensive hobby: the reasons are myriad, made more difficult for newcomers because they tend to not have the experience to know what their requirements might be. Brick-and-mortar stores where one might bounce ideas off knowledgeable staff, browse the aisles, and walk away with a suitable set-up are pretty few and far between. Similarly, asking on various internet forums will often be met with, “It depends…” –followed by a wall of text filled with jargon and terminology that can be…intimidating.
For newcomers that maybe don’t have the time to invest in learning CW right off the hop, and perhaps get a bit of mic fright, digital modes such as FT8, JS8, and the like tend to be a great fit. While “shack-in-a-box” solutions by the big-name manufacturers offer convenience, this convenience comes at a price that can be cost-prohibitive.
What follows is a QRP digital modes kit that I’ve experimented with over the last year. No single piece of this kit cost more than US$150, and the entire kit can be had for under US$600. What’s more, nearly everything can be purchased from Amazon.

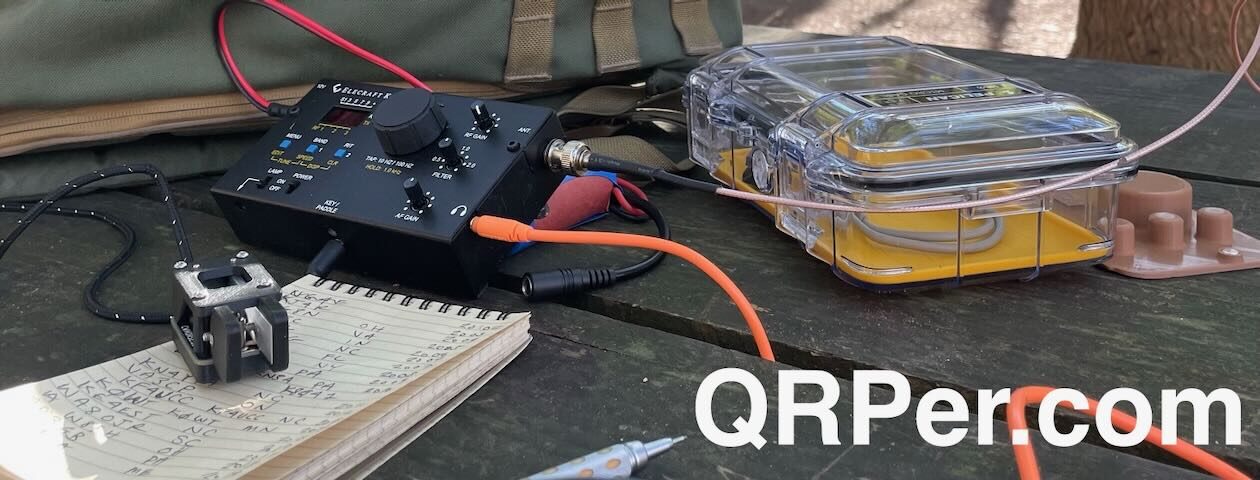
We’ll start with the most expensive part of this kit: the radio, which is the Tr(u)SDX. It can be had on Amazon for US$138, and covers 20m, 30m, 40m, 60m, and 80m bands. It is a quirky little radio with a sub-par speaker and a tiny little microphone.
The Tr(u)SDX is just about as bare-bones as one can get with an HF transceiver, and is decidedly a compromise. However, unlike other ultra-compact transceivers, this one will do CW, it will do voice, and it will do *any* digital mode. It can run on USB power at 1 watt output (micro-USB port on the side of the case); but it can also run on 12v (nominal) power via a 5.5mm x 2.1mm barrel connector on the top of the unit.
I’m powering this radio with a US$43 battery bank (Romoss Sense8P+), and a USB-C to 5.5 x 2.1mm cable (US$8.99) –both available on Amazon. This battery bank will keep the Tr(u)SDX going for hours –long enough to do multiple POTA activations. And, because there’s no special adapters, the battery bank can be re-charged in the same manner as a cell phone –or even off a small solar panel.

The sound card interface is the Digirig (US$57) with a US$19.97 cable that is TRRS 3.5mm on one end, and breaks out separate Mic and Speaker 3.5mm TRS. Now, I will say that a recent firmware revision on the Tr(u)SDX has been demonstrated by the developers of the radio to allow for audio through the micro-USB connector of the radio – so the use of a sound card interface *may* be redundant. However, in viewing the demonstration video for this, it seems rather dependent upon finding the right micro-USB to USB-A cable; with no clear indication on where one can obtain a cable that meets the specification. Now, add a USB-C to USB-A or a USB-C to USB-C cable to interface with the computing device, and we’re in business!
So far we have a radio, power, and a way to get sound in and out of the radio. Now, let’s talk about antennas. Of course, one can homebrew an antenna for the cost of parts and time in construction and testing. For the kit I’m using, I went with the N9SAB OCF Dipole –specifically because I do a lot of 80m QRP work. Also available from N9SAB is a 6m-80m random-wire end-fed for US$89.99 from his eBay store.
 If using a non-resonant antenna, an antenna tuner will be needed: I went with the ATX-100 (US$126 from Amazon). The reason I went with this is because it recharges with USB-C, which is consistent with everything else in this kit.
For coax, I personally use Times Microwave LMR-240 –a 50-foot length terminated in BNC is US$65 on Amazon. For something less bulky, perhaps RG-316 from ABR Industries (abrind.com) might fit the bill The ABR-240 coax at 50-feet in length is US$58. For a jumper from the tuner to the radio, I use a 3ft RG316 cable from Amazon – which cost me US$13.99.
 All that’s left is a device to run software…this can be a Raspberry Pi, or one’s laptop, certainly –however, these are bulky and require special power…and are a pain to re-charge easily. Another solution is something one might already have: an Android smartphone. There are apps (some free, some paid) for RTTY, PSK31/63, WSPR, SSTV – these have been out for some time. Additionally, one can do many of the modes contained in FLDigi, using the AndFLMsg app (not available on the Play Store –one has to download the .apk file from a 3rd party). However, what I’ve been using –especially on POTA activations – is FT8CN. This allows for full-function FT8 using just an Android phone –which can also be charged via USB-C.
[Note: eBay, Amazon and ABR links below are affiliate/partner and support QRPer.com at no cost to you]
| Tr(u)SDX | $138.00 | Amazon |
| N9SAB Random Wire End-Fed | $89.95 | N9SAB eBay Store |
| ATU-100 Antenna Tuner | $126.00 | Amazon |
| RG316 Coax Jumper (3ft) | $13.99 | Amazon |
| USB-C to 5.5×2.1mm cable | $8.99 | Amazon |
| ABR-240 50 ft Coax | $58.00 | abrind.com |
| Romoss Sense8P+ Battery Bank | $42.99 | Amazon |
| DigiRig MobileSoundcard Interface | $49.97 | digirig.net/store |
| uSDX Cable for DigiRig Mobile | $19.97 | digirig.net/store |
| Total | $547.86 |
This kit is –for sure– a compromise: one isn’t going to bust pile-ups or win contests with it However, for a “starter kit” that can easily be carried in a small backpack that can not only be used for HF digital modes, but also can do SSB voice and CW, it will at least get an operator on the air and enjoying the bands –without breaking the bank.