
MFJ Enterprises has an amazingly deep catalog of products. So deep, I often overlook items that could be quite useful in the field.
MFJ recently sent me one of their travel paddle kits to evaluate on QRPer.com–no doubt, they heard my plea for paddle recommendations some time ago.
Paddles are a funny thing: they’re basically a very simple switch, so not terribly difficult to homebrew. Yet sometimes we want to simply purchase pre-made paddles instead of building them.
I don’t personally want to invest crazy money in field paddles because there’s a reasonable chance they could get damaged in my pack or I could even leave them on the forest floor after a POTA/SOTA activation.
Plus, paddles aren’t the weak link in my CW game (ahem, yeah…you might have guessed it’s the operator–!).
The price of MFJ-561K paddles hits a sweet spot at $25 US. I know of no other paddles made in the US that are cheaper (although I know I might stand corrected on this point).
For $25, you’re not getting Begali quality: you’re getting something that’s simple and gets the job done.
The MJF-561K is actually a simple kit that you assemble at home. It’s a novice build for sure, taking (generously) 20 minutes to assemble and requiring no kit building experience. You will need to use a soldering iron to attach the three conductor wire to your paddles–otherwise, it feels more like a mini Meccano or Erector set.
At one point early in the build, I did find myself looking for a detailed photo to determine how the shoulder washers were placed. I couldn’t find one, so I decided to take my own photos to help anyone else building these paddles in the future.
MJF-561K Assembly Photos
Click on the photos below to enlarge:


On the air

The building process was super simple as you can see from the photos above. I didn’t test the paddles in advance to make sure the shoulder washers were insulating the contacts properly, nor did I test that my ring/tip placement was correct before soldering. I would suggest you do this!
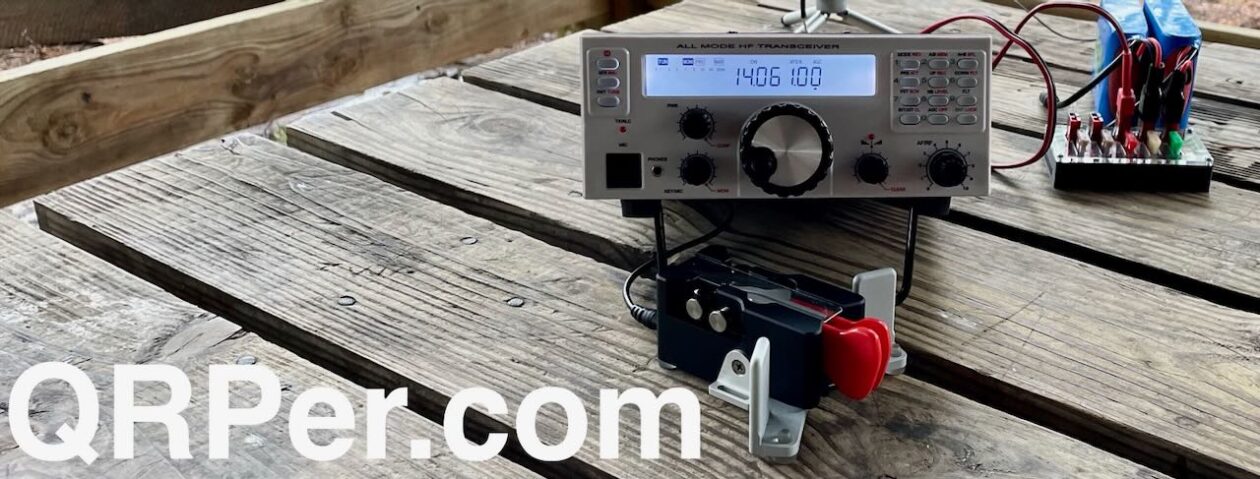
Fortunately, I plugged it into the Yaesu FT-817ND and it worked perfectly!
The paddles are lightweight and the action reminds me very much of Whiterook Paddles.
Any criticisms? For the price, these are brilliant. With that said, I wish the three conductor wire was just a bit heavier gauge. The conductors are very thin and I do worry how well they’ll hold with heavy use. Of course, it’s an easy process to replace this cable with one of my own. Also, like most lightweight backpack paddles, the thin metal sheet base needs to be held in place while operating.
I think I might attach the paddles directly to a clipboard. If I drill two holes in the paddle base, I could mount them with small bolts onto the clipboard and remove them when done. I’ll give this some thought.

For $25, the MJF-561K paddles are a no-brainer. I see keeping a set of these for ultralight operating and perhaps even as a set of backup paddles. And, hey! They’re a great stocking stuffer idea. I would suggest MFJ consider making a single-lever version as well.
It looks like MFJ offers this same key factory-assembled: https://mfjenterprises.com/products/mfj-561?_pos=3&_sid=d048b0606&_ss=r
Thanks for the tip!
I bought a pre-assembled one of these nearly 20 years ago. I found it somewhat unusable because the thin springy metal tended to twist making the contacts unreliable. Perhaps more recent versions use better quality material and don’t suffer from this issue.
73 de Graham G3ZOD