
Many thanks to Alan (W2AEW) for the following guest post:
Trapped EFHW antenna story (it’s all Vince’s fault)
by Alan (W2AEW)
One of my favorite antennas to use for POTA activations is a 40m EFHW wire. When properly tuned and deployed, it can be used on 40, 20, 15 and 10m without the use of a tuner (although, I really don’t mind using a tuner when I need to). Most of my activations are on 40 and 20m, so those bands are covered easily. It can be used successfully as a sloper, an inverted vee, or a combination of these (whatever the trees or support structures allow). It is efficient, inexpensive to build, lightweight and effective.
There are a few downsides to this antenna. The first is that it is approximately 68 feet (almost 21 meters) long. That’s a lot of wire to get in the air. Some POTA sites just don’t have that much room or support structures to effectively use this antenna. Another downside is that it doesn’t naturally support operation on the 30m band, another favorite of mine.
A few weeks ago, I watched a video from my friend Vince VE6LK entitled: “Discover the secret ingredients to build a trapped EFHW antenna”. This piqued my interest…
The video introduces a design for a 40/30/20m trapped EFHW. The fact that it covers the three bands I use the most, and would be shorter than my trusty full-sized 40m, and give me 30m to boot, got me excited to learn more.
Vince used a pair of traps (30m and 20m) that are offered in kit form by Tim Sherry, N7KOM. Here is a link to kit on Etsy.

These are exclusively for use at QRP power levels – perfect for my application. I placed my order immediately after watching the video. The build instructions are very detailed, including how to tune the traps, which is critical in getting the antenna to work.

He also used a 49:1 UNUN from SparkPlugGear. I’ve had one of these in my POTA kit for a while, but only used it occasionally. This was another good reason to proceed with this antenna build.
Of course, you could also use the QRP UNUN kit from KM4CFT that I made a video about earlier this year.
I created a video that showed how to assemble and tune the traps. Tuning can be a little tricky, and then stabilizing the turns/spacing to preserve the tuning is critical – not hard, just takes a bit of patience.
With the traps built and tuned, the next step would be to build and tune the antenna itself.
I was able to find the time this weekend to do just that, and make a video of the process.
Details of the resulting wire segment lengths are in the video. It is important to note that if you decide to build this antenna, your wire lengths will likely vary from mine. Several factors will effect the resulting lengths (details of the UNUN used, the trap construction, etc.). My video goes through the process I used to build, tune and test the antenna.
“The proof is in the pudding” as they say. It was time to actually run a POTA activation with this antenna. The overall length of the antenna was about 43 feet (about 13.1 meters), which is about 2/3rds the length of the 40m EFHW. This opens the possibility of using my 12 meter Spiderbeam mast (video review) as a support rather than just relying on a tree branch.
The weather here in NJ has been oppressively hot and humid with heat indexes over 100F, so I opted for a morning activation, before the heat really built up. The intent was to get some contacts on all three bands, even though 20m probably wouldn’t be very active.
I setup at my “home” park – Washington Rock State Park, US-1635. I decided to setup the Spiderbeam mast as the support for the new antenna:

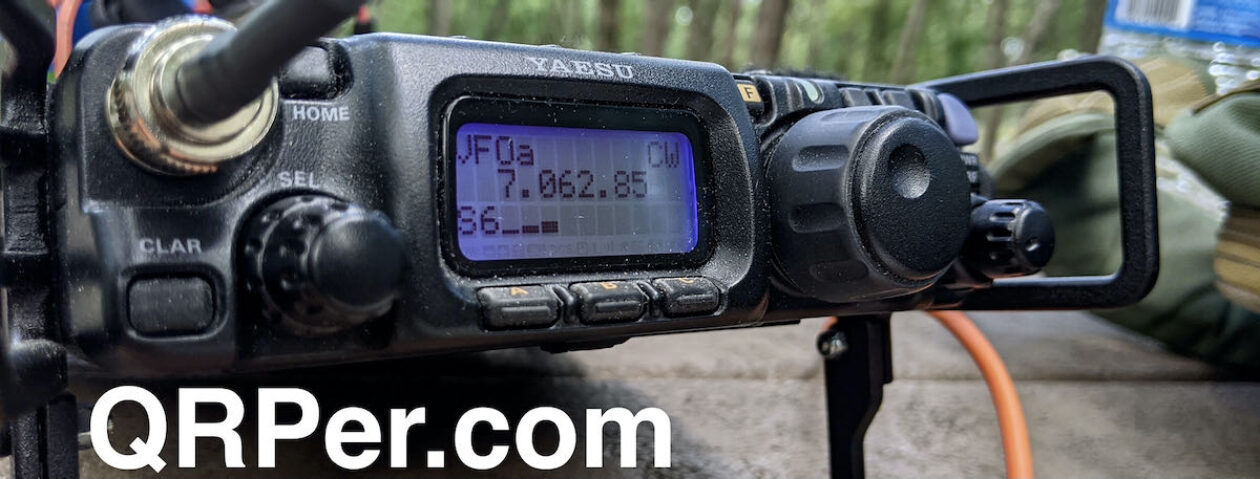
 The rig was my trusty KX2 with the BamaTech TP-III paddles:
 I only had about an hour to dedicate to operating before the family activities for the day, so I figured I’d start on 40m and get most of the “ten” there first, then move on to pick up a few on 30m and 20m.
I was able to put 14 contacts in the log, under “so-so” band conditions, which at least a few on each band, several of which were park-to-park contacts.
 Here’s the map of the “reach” that the new antenna had during this short activation:
 Overall I am quite pleased with the antenna’s performance. The near ideal band coverage for my typical activations, and the ease of deployment compared to the full-sized 40m EFHW make this antenna a great addition to my POTA kit. I suspect it will get a lot of use!
Resources:
- Tim’s (N7KOM) Etsy Store
- SparkPlugGear
- Vince’s (VE6LK) YouTube Channel and Website
- Alan’s (W2AEW) YouTube Channel
Thank you for this review! About half a year ago I made the 80/40/20 m trapped EFHW, where the traps are mostly used to avoid splitted radiation pattern at 20 m band. But after making this antenna I realized that full wavelength wire in EFHW improves antenna gain in directions across the wire, which is useful for QRP operation, where an extra couple of dB are always handy. So I dropped the 80m band (anyway the ~38-m antenna wire was always difficult to deploy) and now my primary antenna is just plain 20/40m EFHW without traps. Its theoretical gain at 20 m is well over 3 dBi, which isn’t bad, although it comes at cost of no output along the wire. Sadly the use of traps in EFHW antenna proved itself not much useful in my case (compared to added difficulties), as I don’t need the 30 m band.
73 R1BNG
Certainly I will still employ my full sized EFHW when I can, but this trapped design will be great for those locations where the full size antenna is just too long to be deployed (for me).
Excellent, excellent, excellent post Alan! I love my Ol’ Sparky 49:1 EFλ/2… but I just cut it for 40 meters. It’s compact, and works well with my QRP Lab transceivers, especially my QMX LoBander.
I’ve seen where Adam, K6ARK has used traps as well. So it all makes sense to shorten a wire if tuned properly.
Thanks again & 72!
de W7UDT
Alan-Tnx for such a detailed presentation. Just ordered the traps. But truth is I don’t like wire ants for portable use. Have never used a wire ant for SOTA; prefer based-loaded coil verticals with mods, especially hanging off exposed rock cliffs. AX1 with mods did great with KX2 on 20CW in Greece last year. But with squirrely propagation, decided to try wire. Have trips in next few weeks: SOTA in Tenn & POTA/SOTA in Nova Scotia. Yesterday, W4AUV & I frustrated the waiter at breakfast, drawing antenna designs all over the table. Questions is what is shortest for 40CW? Maybe a 33′ radiator & 33′ counterpoise random wire for 40….guess I could fold it back for 30 & 20 ? Connect to banana jack to KX2 – what do you think? Tnx de K4RLC Bob
Hi Bob – I try to keep several options with me for POTA. Wire antennas such as EFHW and random wires for situations where I can deploy them, as well as a cheapie 17′ vertical as well as a SuperAntenna MP1 for situations where the wire isn’t practical, as well as the little AX1 for quick, low profile setup when warranted.
Alan – Tnx. Gud to know you also use a MP1 – I have an original & actually talked with Vern, a dentist, when we was still with us. For POTA, do much the same as you, including a Chameleon 17ft whip & other stuff I can thru in the 4Runner. For SOTA, try to minimize weight & bulk. I’ll try these options on upcoming Tenn SOTA trip & report back. MP1 on small tripod with a few radials does great hanging off an exposed mountain rock face up a few thousand feet
Which antenna to use? One primary tradeoff is effectiveness vs. ease of setup. An MPAS 17’ whip can be set up and I can be on the air in 5-7 minutes. A 65’ EFHW maybe 10 minutes. OTOH, I’ve spent 45 minutes setting up a 65’ doublet.
I’d like to see a poll on antennas being used for QRP/POTA.
Here’s an idea
Build a 49:1 transformer and add it a tap to achieve 9:1 too (yes, it’s possible), then cut and tune a “standard” EFHW radiator for the desired band, done so, add a spade connector to the far end of the EFHW wire and use it to connect the EFHW to a piece of wire which will bring the overall length to one of the recommended “random” ones
This way, the same wire could be used as an EFHW, connecting the wire to the 49:1 binding post or, connecting the additional wire and connecting the radiator to the 9:1 binding post (going to the tap) it could be used as an EFRW
wow. I am randomly searching for trapped wire antennas, and I stumble across my callsign in the log. Excellent!