Category Archives: How To

A tour and deep-dive of my SOTA/POTA Backpack (Spec-Ops Brand T.H.E. Pack EDC)

As many of you know, I’m a bit of a backpack geek (okay, that’s an understatement).

If you don’t believe me, listen to the Ham Radio Workbench episode where they invited me to take a deep dive into my world of packs, bags, and organization. It’s not for the faint of heart or the short of time. (It was seriously fun, though!)

You would think being a pack geek that I would produce more videos showing a breakdown of what’s in my packs and how I organize them. The irony is I watch numerous videos on YouTube of how others pack out their various field and travel kits.

In truth, I have done this before, of course–once showing how I pack out my GoRuck GR1 for field radio and travel and another time showing how I pack out my TX-500 field kit in a Red Oxx Micro Manager. I plan to do more.

I’ve had several requests to do a video about my main SOTA pack which is designed around the Spec-Ops Brand T.H.E. Pack EDC tactical backpack (see above). I think the reason why I haven’t made a video and post yet about this pack is because I knew it would be quite detailed and, frankly, take a lot of time to detail.

That said, here we go!

Designed to be modular

This particular pack is not set up to be a fully self-contained field backpack for just one radio. Quite the opposite: I use its main compartment to hold a wide variety of modular field kits I’ve put together.

What do I mean by “modular”–?

As I prepare my pack to hit the field, I decide which radio I plan to take; typically that radio is in a pouch, bag, or case of its own that contains radio-specific connectors and accessories.

Mini Mini Arborist Throw Line Kit in a Tom Bihn Small Travel Tray

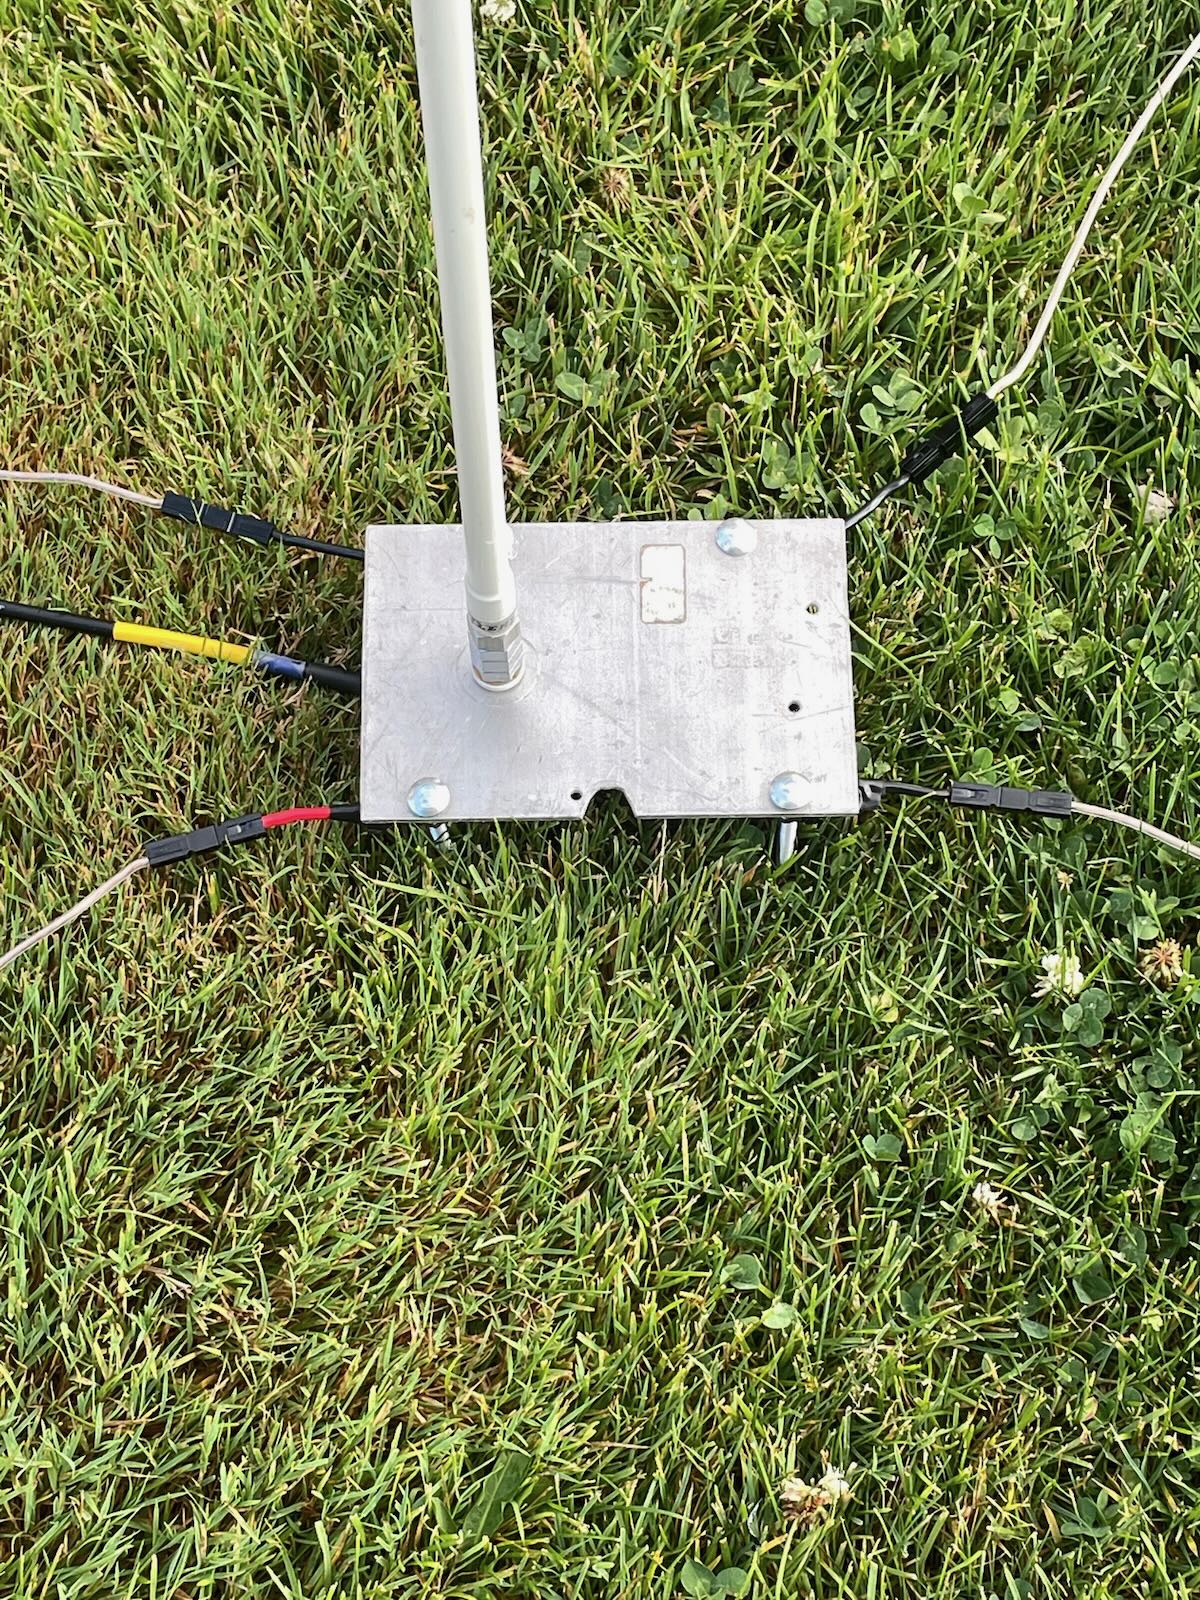
I put the radio in the main compartment, then I add a battery kit, logging kit, an antenna kit, arborist throw line, and an accessories kit that contains a key, cables, adapters, etc. Continue reading A tour and deep-dive of my SOTA/POTA Backpack (Spec-Ops Brand T.H.E. Pack EDC)

Why does the Mountain Topper MTR-4B (& 3B) have three separate band switches?

A question I’ve received several times since sharing my last field activation with the MTR-4B is “why do Mountain Topper radios have three individual band switches–?

That’s a great question and the answer is actually in the product manual.

The following comes from the MTR-3B manual but also applies to the MTR-4B (save the 4B has four band positions instead of three):

The band is selected by three, three position slide switches. For proper operation, all three switches must be in the same
column[…]. It’s easy to get into the habit of flipping each switch in sequence from the top down.

The top switch tells the processor which band to operate on and connects the Receiver input filter to the first mixer. The
middle switch connects the transmitter low pass filter output to the antenna and connects the antenna to the receiver
input filter. The bottom switch connects the output of the transmitter PA to the low pass filter.

The manual is correct: it’s easy to get in the habit of sliding all three switches with band changes. It becomes second nature in very short order.

It’s easy to tell that all of the switches are in the correct position as well because without all three switches selected, the receiver sounds deaf and audio muted. With them in position, the receiver sounds “alive.”  (That said, the noise floor is so low on these radios, it’s quite possible you might think they’re not engaged properly if there aren’t many signals on the band!) Of course, it’s very easily to visually inspect the switches and confirm they’re in the correct position.

Side note: On the Mountain Topper series, each band switch is an independent mechanical switch. On the Venus SW-3B (which was no doubt inspired by the Mountain Topper) the two band switches are bound together as one:

You can’t tell from looking at the photo above, but if you slide the top switch, you’re also sliding the bottom switch: the two switches are only one mechanical piece. An interesting design choice!

Side Note: The (now discontinued) Mountain Topper MTR-5B had a more complex series of six switches. Here are the instructions for it along with a drawing from the MTR-5B manual:

I hope this helps clarify how/why the Mountain Topper series uses multiple switches for band changes!

Sam builds a compact external speaker and 200 Hz filter for the Penntek TR-35

Many thanks to Sam (WN5C) for sharing the following guest post:


A Compact CW Filter and Speaker Build for the TR-35

by Sam Duwe, WN5C

I recently built a Penntek TR-35 and, like seemingly everyone, I love it.

Once the rig passed the smoke test I was having too much fun and wasn’t quite ready to put away the soldering station. I had two non-essential wants for this project: a narrower CW filter for listening comfort, and an external speaker. Here’s a quick description of how I crammed both of those into an Altoids tin. Nothing is new or groundbreaking here, but it has been a fun and useful project for me and hopefully will give some inspiration for others.

The Hi-Per-Mite

The heart of the project is a Hi-Per-Mite 200 Hz CW filter, designed by David Cripe NM0S, and sold as a nice kit for $28 by Four State QRP Group. Hans Summers G0UPL uses the circuit in the QCX so many will be familiar with the filter’s sound. It’s nice and narrow with no ringing, and makes using my base station (a Kenwood TS-520 with the 500 Hz crystal filter) a joy.

To be clear, the existing narrow filter in the TR-35 is great, but I like the option of going narrow(er). It’s a Pixie-level build difficulty so it should come together in an easy couple of hours. I originally built mine in an Altoids tin using inspiration from Phillip Cala-Lazar K9PL’s review and it worked very well. It sips current and is powered by a 9-volt battery. With a DPDT throw switch connected to both the audio path and the power you can easily switch the filter on and off.

The Speaker

A neat aspect of the TR-35 is that there is a lot of audio gain so you can drive a non-amplified speaker. I have a little Bluetooth speaker that does this trick when I want to use CW to annoy people, but I figured if I’m already hauling an Altoids tin to the field maybe I could get it to talk, too. I looked around my junk box and found a broken Baofeng speaker mic and salvaged the speaker. It works really well: a robust but comfortable volume.

I’m sure any little speaker would do the trick… nothing fancy here, it gets hot glued it to the lid of a mint tin after all.

The Build

After I built the Hi-Per-Mite here’s what I did: first I ate a tin of Altoids and felt a little sick. Then I drilled some holes. The one on the left is for the audio input, the one on the bottom for the headphones (both of these are 1/8” stereo jacks), and two on the right for two mini DPDT switches. I also drilled holes in the lid for the speaker sound to come through. I gave the tin a good sanding and tried to remove sharp edges, and then sprayed the lot with black primer and spray paint.

Continue reading Sam builds a compact external speaker and 200 Hz filter for the Penntek TR-35

Fold-out feet for the Penntek TR-35

I must thank my buddy John (AE5X) for this excellent tip.

I was watching one of his YouTube videos some time ago and noticed that he added fold-out feet to his Penntek TR-35.

Like John, I appreciate my radios sitting at a bit of an angle as I operate and these fold-out feet looked like the perfect addition to my TR-35.

These feet are designed for laptops which are much heavier than the TR-35 or pretty much any similar field radio.

They arrive in a small package with an alcohol wipe to clean the bottom of the radio. The adhesive pads on the feet are made by 3M and high quality. I doubt they’ll ever fail. Since they’re designed to allow airflow under a hot laptop, I believe the adhesive should withstand hot summer days in the field as well.

Continue reading Fold-out feet for the Penntek TR-35

How to assemble a narrow CW filter for your Yaesu FT-817/FT-818/FT-857/FT-897 (an affordable YF-122C equivalent)

QRPer.com readers know that I’m a big fan of the venerable Yaesu FT-817 and FT-818 series transceiver.  So much so, I own two FT-817NDs–I purchased a second unit last year primarily for full duplex satellite work.

As I mentioned in a previous post, the one gotcha with the FT-817 and FT-818 is narrow CW filter availability. The YF-122C 500 Hz and YF-122CF 300 Hz Collins filter boards are no longer produced. Neither are the Inrad equivalents.

With the renaissance of CW we’re experiencing along with the growth of POTA, WWFF and SOTA, narrow CW filters for the FT-817/818 are very difficult to find and come at a premium when you do find them. I saw one sell recently for $250 US–over double what I paid two years ago.

In addition, this same filter not only fits the FT-817/818, but I believe it also fits the popular FT-857 and FT-897 series transceivers (please correct me if I’m wrong about this).

The Problem: I wanted another narrow CW filter

One of my FT-817NDs is loaded with a Collins 500 Hz mechanical filter that I purchased from my buddy Steve (WG0AT) nearly two years ago.

The second FT-817ND had a narrow Inrad 2 kHz SSB filter that came with the radio when I purchased it used (see image above).  Initially, I had no intention of buying yet another narrow CW filter because I’d only planned to use the second unit for FM and SSB satellite work.

Then, during field day this year, I decided it might be fun to build a quick-to-deploy portable HF station with something like an Armoloq TPA-817 pack frame. That thought experiment made me realize that I should simply bite the bullet and get a narrow CW filter for the second FT-817ND.

I started searching in late June and was simply not willing to pay the price for the very few filters that have shown up on the the used market.

The Solution? Assemble one!

I owe QRPer reader, Petr (OK1RP), for this tip.  Thank you, Petr!

The process of assembling your own narrow filter is actually quite simple and affordable. If you have even the most basic soldering skills, you’ll be able to manage this easy project. If interested, keep reading and I’ll show you how you can assemble your own…

Continue reading How to assemble a narrow CW filter for your Yaesu FT-817/FT-818/FT-857/FT-897 (an affordable YF-122C equivalent)

Steve’s Homebrew Vertical Antenna for POTA

Many thanks to Steve (KM4FLF/VA3FLF) for sharing the following guest post:


A Great Homebrew Vertical Antenna

by Steve (KM4FLF/VA3FLF)

Last spring, I was going through my many boxes of ham “stuff” looking for items to sell at our club tail gate sale. I came across a couple of Hustler SM Series Resonators (20 /40 Meters) that I had acquired. I am not sure where I obtained them, but I decided they were keepers.  That decision turned out to be the first step in a year long process that has given me an awesome homebrew vertical antenna.

After doing a little research I found the resonators and accessories at most of the online ham dealers. They are used primarily as mobile and marine antennas. I had seen where a ham had used these on a ground stake as a portable antenna as well. I ordered a Hustler MO1 mast which is 54 inches tall and thought I would attempt to make a portable POTA antenna.

Antenna base

I had a couple of small aluminum plates that I drilled out a few holes. I cut out a notch to put a SO-239 Stud Mount on the plate as my antenna base. I now had a ground plate, connector, and antenna with resonator. By putting a stake in the bottom of the plate, I was able to get the antenna to stand up. The Hustler resonators have a hex screw for tuning that can be loosened. The antenna can be adjusted for resonance by lengthening or shortening the radiator length. After adjusting the radiator my SWR was still horrible on the two bands.

Antenna base close-up

I had some 14-gauge wire laying around and attached it to the plate using carriage bolts and nuts for my ground radials. I didn’t think about the length of the wires at this point but went with three or four lines around 20 to 30 ft. I was able to use my vertical a few times with moderate success. My SWR on 20 and 40 Meters was around 2:0 to 1 at best. It was bulky and very delicate. Sometimes screwing in or unscrewing the MO1 the SO239 would slide off the edge of the aluminum plate. I put away my contraption for the winter and decided to move on to something else.

In April of this year, I wanted to revisit my project. Continue reading Steve’s Homebrew Vertical Antenna for POTA

Joshua explores Unun insertion loss (efficiency) comparison testing

Many thanks to Joshua (KO4AWH) who shares the following guest post:


Unun Insertion Loss (Efficiency) Testing

by Joshua (KO4AWH)

A simple “side-by-side’ method can be deployed with the use of a Calibrated NanoVNA to read back “S21 Gain” which is, in this case, signal loss from the output of S11 back into S21 through the identical windings. The gain (loss) reading in negative dB gives us the total signal loss through the windings. We can then divide by 2 to get the loss through one winding and then convert with a bit of math to an efficiency number.

p = 10^(x/10) * 100 where p = percentage 0-100% and x = loss in dB

Example: -2dB reading on “S21 Gain” on the NanoVNA divide by 2 for a loss of -1dB on each winding would be 10^(-1/10) * 100 = 79.4%

We have a 50 ohm signal coming out on S11 of the NanoVNA through the first winding to some unknown exact impedance but that is then converted back through the second unun into the S21 port where the signal is measured. It is therefore necessary to use identical windings for each test to ideally match the impedance change.

I like to run the signal test with the top and bottom of each band, take the average of the two, and then convert to efficiency, 100% being perfect. I record these values to then chart each band’s efficiency for the winding pairs. The goal here is to compare the different windings. For example, with a 9:1 used for a long/random wire, compare toroid sizes, number of toroids and in some cases the number of windings. One nice advantage to a 9:1 Trifilar winding is that you can increase or decrease the winding count in multiples of 3 while maintaining a 3:1 winding ratio. Take the square of the windings ratio (3) to find the impedance ratio of 9:1.

Here is one example of two different windings compared. Both are Trifilar but one with a single T80-2 toroid and 9 sets of turns and the second with a Double T80-2 and 12 sets of turns. 100% would be zero signal loss through the windings, 0% would be full signal loss. -3dB (loss) per winding would equate to a 50% efficiency in either single winding.

The difference between these two windings across the Amature Bands was quite surprising to me. I assume typical, often used windings will be decent across the bands. Here we saw a large improvement in access to the bands by adding several extra turns.

When each component of the station induces loss to the radiated signal, or the ability to receive, you have to improve each area for the best transmit and receive capability. This test is not foolproof, it is not the most accurate way to measure efficiency and maybe not the easiest but it gives me a comparative analysis of various windings with the tools available to me. If I can increase the performance of my windings, I can increase the performance of my station. Time to wind some more transformers!

Joshua

KO4AWH

Tufteln Antennas

Tufteln.net

Scott Builds a clever Icom IC-705 Paddle Mount

Many thanks to Scott (KK4Z) who shares the following project from his blog KK4Z.com:

Paddle Mount for the IC-705

I kinda like the idea of being able to mount your paddle to your radio when operating portable. You can use the weight of the radio to help prevent the paddles from moving around and it frees your off hand for other tasks. We see examples of this with the Elecraft KX series of radios and there are some adapters for radios such as the Yaesu Ft-817/818.

I really like my IC-705. It is probably my best radio for POTA/potable operation. I think the only time I would leave it home is if weight became a problem or I needed to exercise one of my other radios. Recently, Begali came out with a mount to attach their Adventure paddle to the IC-705. It is a sweet set-up; however, the approx. $400 USD price tag got me looking for other alternatives. I have nothing against Begali, I own three of their paddles, and they are superb instruments. I think I wanted to tinker, and this gave me a good excuse.

For paddles, I have a set of Larry’s (N0SA) SOTA paddles. I love these paddles. When I go on an activation/Portable Operation, I bring these and my Begali Travelers. If I was going to do a SOTA activation, I would just bring Larry’s Paddles. Next was a trip to Tractor Supply Company (TSC) for a sheet of 16 ga. Steel. That set me back $16. I cut it to 3″ by 3 1/2″ using a cutoff wheel on my grinder.

I already have a stand I made out of 1″ x 1″ angle aluminum so I cut this to fit behind it.

The blue on the metal is Dykem Blue which is a layout fluid. In creating this project, I am only using hand tools. Power tools consisted of a grinder with a cut-off wheel. a hand drill, and my trusty Dremel tool. Here is a picture of me giving the mount a rough finish with a file. Continue reading Scott Builds a clever Icom IC-705 Paddle Mount

Xiegu X6100: Greg uses an OTG mouse for better selection control

Many thanks to Greg who writes:

After seeing your YouTube channel, I decided to try my hand at POTA operations. There are at least three state parks on the POTA list nearby. I am trying to increase my CW speed, because CW would be a bit more efficient for operations.

[…]I have gotten an Xiegu X6100. The biggest reason was it is Linux based, which I am familiar. It is a nice size also has nice features. With an external battery (car jump starter) and a decent antenna, it should be able to make contacts.

My unit has the version 1.1.5 soft/firmware. I have found the Bluetooth and WIFI connectivity be lacking a few software components. I have been able to make Bluetooth connections to a keyboard and speaker, one at a time. However, there is no data connection to the just of the software.

So, one hears no sound and pressing a key generates no data. The X6100 has the potential to be a very capable modern transceiver. I got it through Radioddity.

I have working with the support group, who are good. Hopefully, the next software update will improve things.

What I found that worked and was a help was a mouse/trackball with OTG (on the go) cable connected to the USB Host port.

One was able to select the menu/submenu items.

The best improvement was Memory Editing the submenu Tag item. Using a trackball to update the Tag information via the popup screen keyboard was very easy and quick. Using a mouse/trackball with X6100 might be a good video.

Thank you for the tip, Greg! I will have to give this a go. I’m curious if other readers have explored using a mouse/trackball with the X6100 as well. 

One of the most appealing things about the Elecraft K4 interface (another Linux-based transceiver, I believe) is that you can connect a mouse and have full control of the radio. This made selecting items so much easier than using a finger to do the same on the touch screen. 

Dale’s solution for enhanced CW field ergonomics

Many thanks to Dale (N3HXZ) who shares the following guest post:


Ergonomics of Operating CW in the Field

by Dale (N3HXZ)

About a year ago I started getting active in Parks On The Air (POTA) and Summits On The Air (SOTA). I had always been an avid hiker and backpacker, and though I am getting up there in years (recently retired!) these amateur radio opportunities were just the medicine I needed to rekindle my passion for the outdoors and amateur radio.

Thanks to Thomas (K4SWL) and his blog post and videos I was able to quickly come up to speed on the basics and get out into the field for CW activations.  I quickly discovered that operating CW in the field is quite different from operating at home. The creature comforts of a good chair, a level and spacious operating table, and isolation from the weather makes for a great experience in the shack, but is not available in the field, especially if you are backpacking to your destination. My early activations were sitting on a rock, or the ground, and using only a clip board to mount my rig (Elecraft KX2), locate my CW paddle, and place a notepad to record QSO’s.

While simple, this operating setup poses problems. Attaining and maintaining a flat workspace is tough in the field in order to keep things from shifting or falling off the clipboard, especially if you are not firmly seated. There is not enough space to set your wrist in order to steady your CW operating, and the notebook pages can flap in the wind, or the wind can blow your logbook clear off the table while operating. I realized I needed to upgrade my mobile station! Continue reading Dale’s solution for enhanced CW field ergonomics